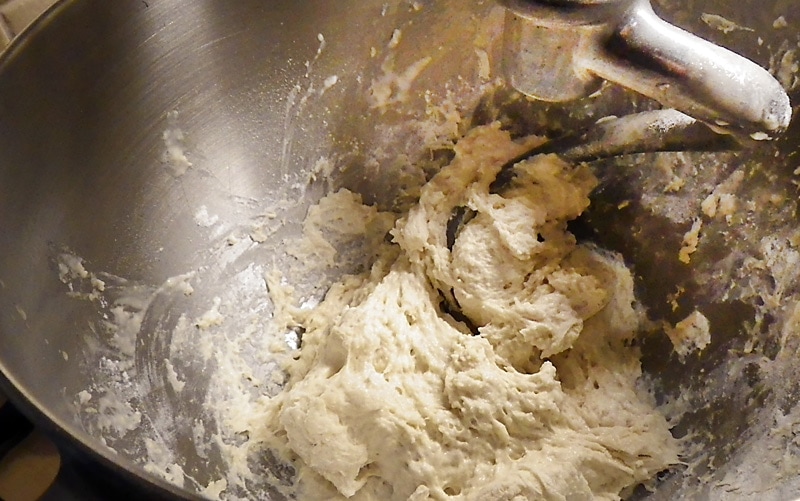
 Pizza al Taglio done three ways Now that you've gathered together a basic pizza making toolkit, let's start actually making one... My "Measure Water First" Method First, I'd like to explain my basic concept that I've developed over the years. Most pizza dough recipes will give you precise measurements for flour in either cups (in the U.S.) or by weight (Europe). I don't really measure flour. Instead, I focus on measuring the water, depending on the type of pizza, style or size that I'm making, and then judging the look and feel of the dough as more flour is added while mixing or kneading. You can and should learn what a good dough for a particular type of pizza should look like. Making any type of dough for bread, pizza or even pasta is not precise like pastry or cake recipes. It's all about the look and feel. There are many advanced pizzaiolo's recipes as ratios by weight of all ingredients, especially the ratio of flour to flour. They talk in terms of "60% hydration", sometimes more, sometimes less. This is true, but it's a complex, fussy method for beginners who just want to learn how to make great pizzas easily. Still, they are correct in that the hydration of a particular dough gives each type of pizza its unique characteristics. Hydration also governs how light and airy a crust can be--or how dense. Of course, as you get more advanced you'll learn that other things also contribute to each type of crust: mixing types of flour; using honey versus sugar; using salt or not; olive oil or not; and how long and how many rises the dough is given. Often a subtle change makes a big difference in texture, taste and structure. Water & Yeast The first thing I do is place warm water (110-115 F) into a glass measuring cup, and ensure the measurement is correct for the size and type of pizza I'm making. For example: 1 - 1/4 cups water for a 12"-14", basic pizza, baked on parchment, on stone or steel. 1 - 1/2 cups water for a 14-16" basic pizza, either on stone or in large pan. 1 - 3/4 cups water for half sheet pan focaccia or "Grandma's Pizza", or 2-4 personal pizzas. For now all you have to learn is how your dough should look in the mixing bowl. Some basic things to look for in the bowl of a stand mixer after adding the first 1 -1/2 cups of flour and pouring in the water/yeast mixture:
So, if you understand my method, the water measurement is critical for the type/size pizza being made, but the amount of flour added will always vary depending on if it's a rainy day, if it's in the middle of a hot humid, summer's day, or if it's the middle of a dry winter with your heat drying out the air in your house. Remember, you can't remove flour if you add too much. Add flour slowly and use your eyes to see when it's getting thick like a pliant, damp, sticky putty... but NOT as dry as a child's Play Dough. If you add too much flour, your pizza will be dense and heavy. When a dough is dense, it makes it difficult for the yeast's gasses to lift and rise the dough--in other words, if there are no air spaces, all you have is a dense bread.  Neapolitan with heirloom tomatoes and fontina  Ingredients for Three Types of Pizza Dough Proofing the Yeast For a 12-14" pizza... 1 - 1/4 cups warm water (about 115 degrees F) 1 packet "instant" yeast (or 1 tablespoon packaged/dry yeast) 1 tablespoon honey or sugar Use 1 to 1-1/2 cups All-Purpose flour to start, then use Bread Flour for the rest. Proofing the Yeast For a 14-16" focaccia or pan pizza... 1 - 3/4 cups warm water (about 115 degrees F) 1 heaping tablespoon packaged/dry yeast 1 tablespoon honey or sugar Use only Bread flour. Proofing the Yeast For a 3-4 individual, thin crust pizzas... 1 - 1/2 cups warm water (about 115 degrees F) 1/2 tablespoon dry yeast 1 tablespoon honey Use only All-Purpose flour. Proofing the Yeast 2 Neapolitan style, individual pizzas... 1 - 1/4 cups warm water (about 115 degrees F) 1/2 tablespoons packaged/dry yeast 1 tablespoon honey Use only Italian style "00" Flour. 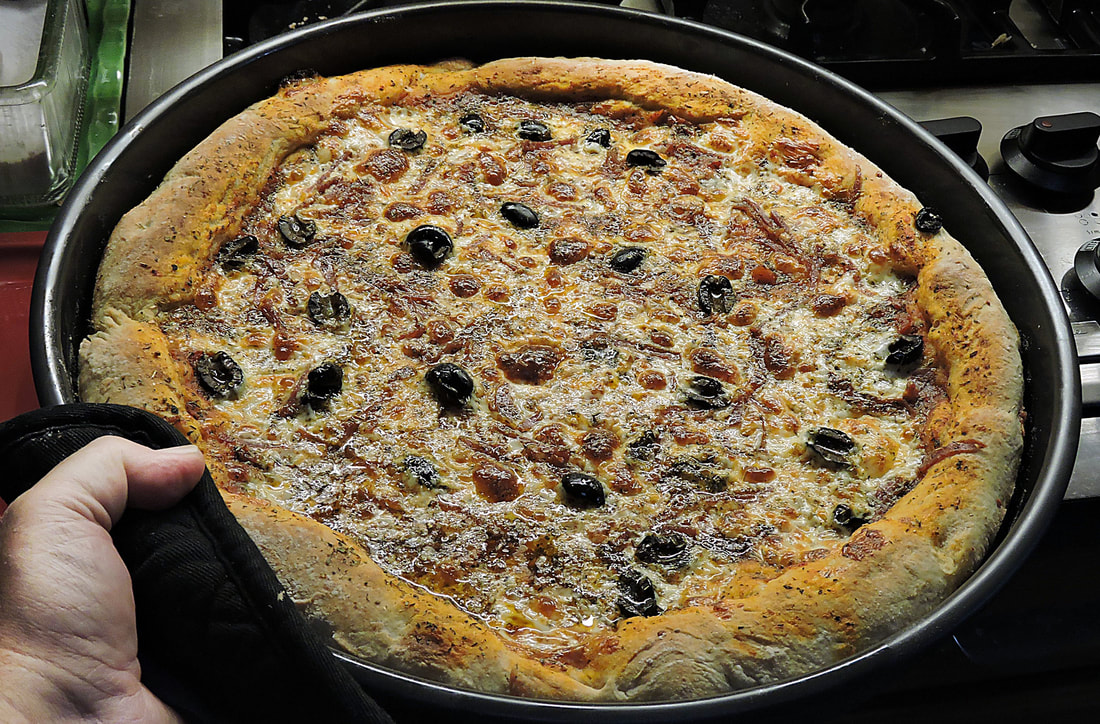 Wheat pan pizza with olives, mozzarella and sausage 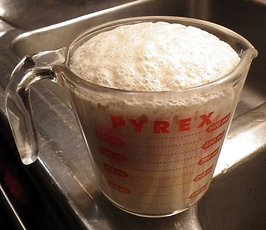 Mix the yeast and honey (or sugar) with the warm (115 degrees F) water in a medium size measuring cup. Set aside for 10-15 minutes to "proof" (foam up). If the yeast doesn't show "proof" that your yeast is alive and growing, you should shouldn't use it. Yeast should be alive. To understand what's going on, the honey (or sugar) feeds the yeast and as it grows, it produces gasses that will lift the dough. After you make your dough, the yeast is still working during any successive rise periods and and will lift the dough (puff it up). Pizza dough is a leavened crust (more akin to bread). A dough without yeast (or less yeast) makes more of an unleavened bread--like a cracker. If you want a bread-like dough (focaccia, sfincione or Grandma's style) use more yeast. If you want a thin, crusty pizza, use less. TIP: In case you don't have a thermometer, here's a method I've come up with to ensure the water is the right temperature... Turn your water on HOT and then try to hold the inside of your wrist in the stream of water coming from the faucet. At first it'll be way to hot to hold it for even a second. Start turning down the temp (add cold or turn the valve toward the cold side if it's a mixer valve) and try holding your wrist there again. When you can comfortably hold your wrist in the stream of hot water, it's hot enough without being too hot, killing your yeast. I've tested this method with a thermometer and it usually lands me around 110-115 degrees F.  A pizza on my baking steel Preheating the Oven, Pizza Stone, Temps and Times First, place your pizza stone/steel in the oven on the center rack, and preheat your oven. For a basic pizza baked directly on the stone/steel, set your oven to 515 F and preheat for 30 minutes/stone, 60 minutes/steel. This pizza should bake within 3-6 minutes, depending on your home oven. Do not use convection! If the toppings need a more time than the bottom, place the oven to Broil for 1 more minute. Thin crust and Neapolitan style pizzas should also be baked at 515F. For pan pizzas, the rule is low and slow... less heat, more time. Preheat your oven & stone/steel to 425-435 F. Most pan pizzas in dark, heavy pans should bake in about 15 minutes. Ingredients for the Dough 1-1/2 cups all-purpose flour (all-purpose is needed to create a more crisp crust) 1 - cup bread flour (bread flour makes pizza more bread-like, I recommend King Arthur's) 1 - tablespoon sugar 1 - teaspoon salt 1- tablespoon extra virgin olive oil 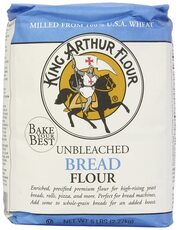 Making the Dough
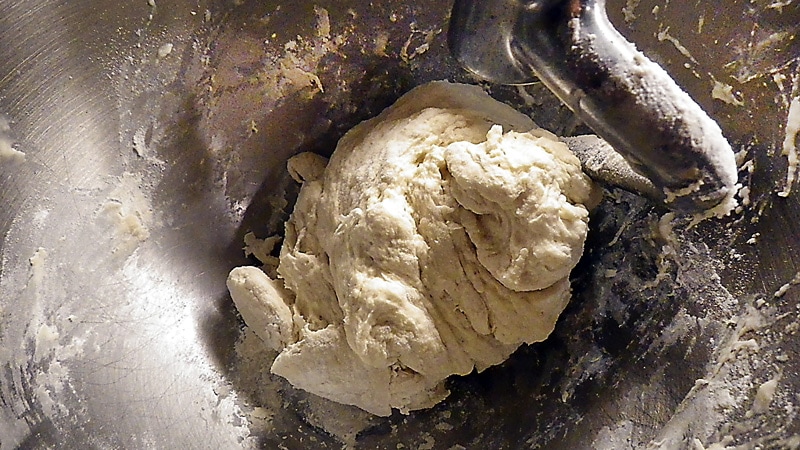
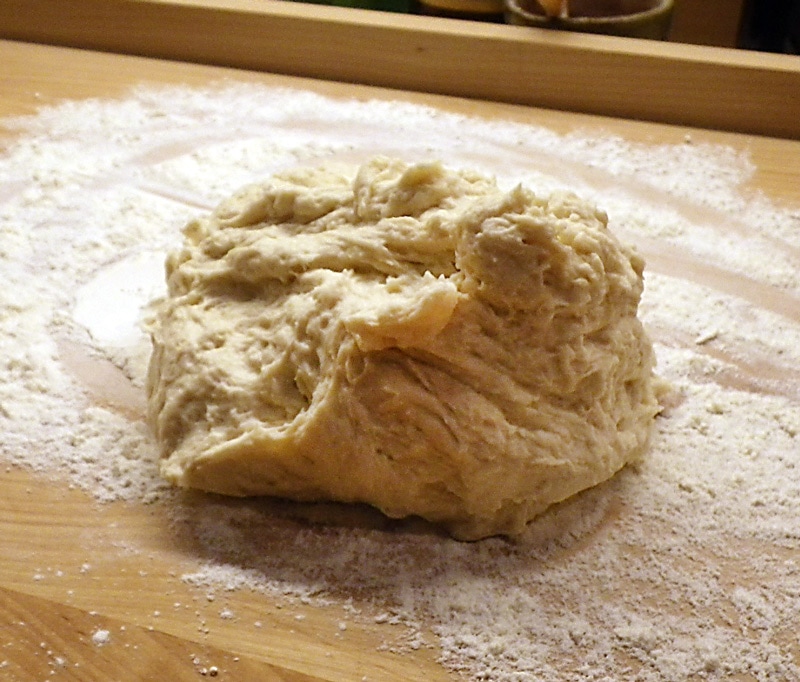
The photo on the left needs more flour but is almost there. The center one has the right amount of flour--it's still a bit sticky. The third shows the dough as it looks on the bench before kneading. 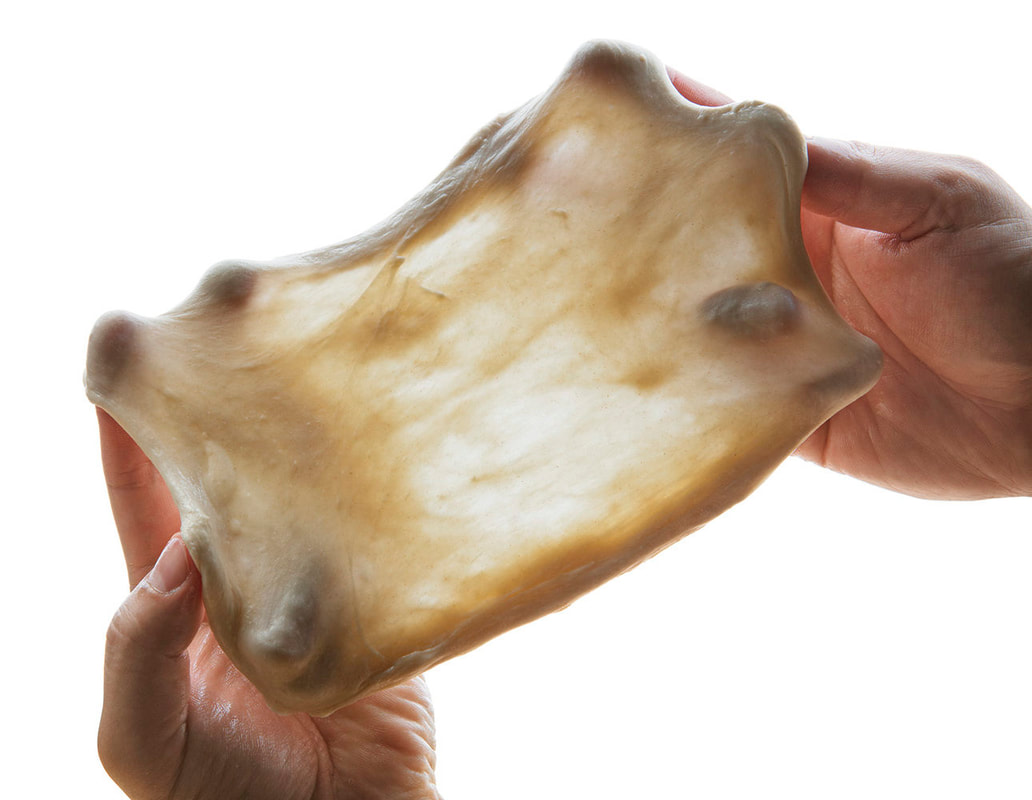 After kneading, you can do a "window" test as in the above photo. Stretch the dough until it gets paper thin and translucent without tearing. If it tears easily, there isn't enough gluten development.
TIPS: You want to mix the dough until it separates from the bowl--but it should still be a bit sticky. Go slow with adding more flour. A dough that's too dry will make a tough, leathery crust. You want it soft and a bit sticky. One more tip... I use mainly King Arthur's flours for my pizzas. I've done tests using others like Gold Medal or Pillsbury and never got good results. The protein level of King Arthur's is higher, resulting in better gluten development. For Neapolitan style, I'll use 00 type flour (doppio zero, double zero), either Caputo or Anna brand.
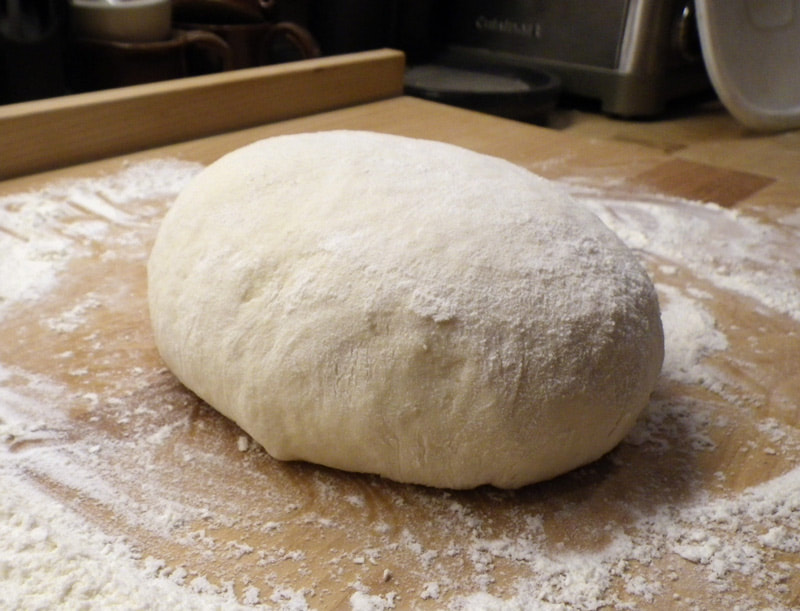
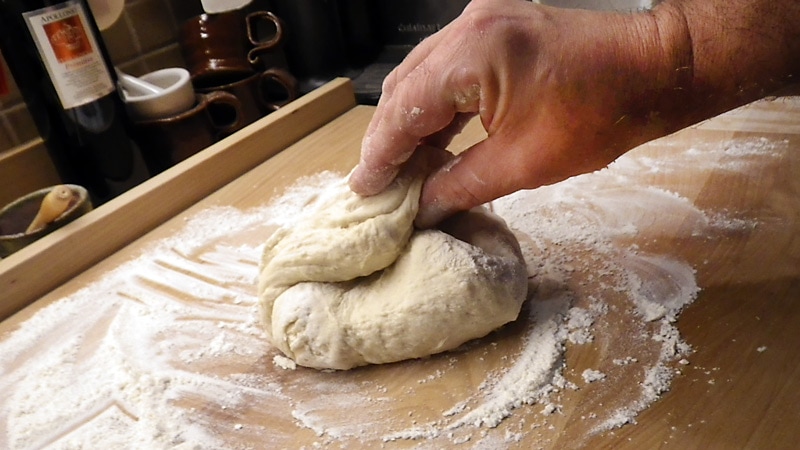
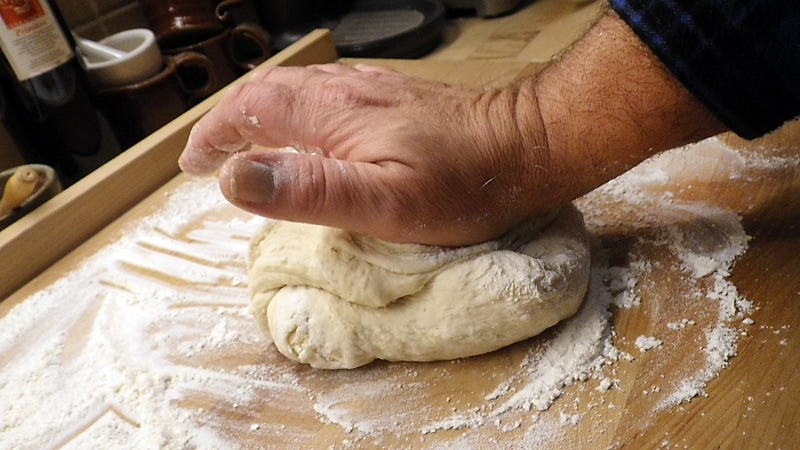
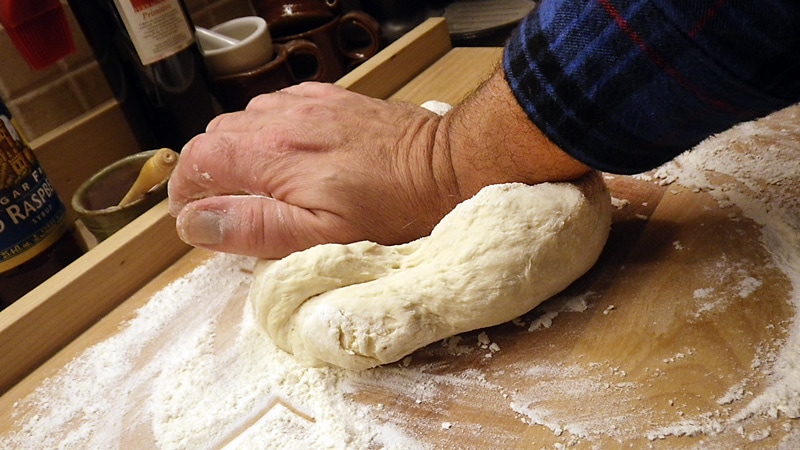
How much flour to add really depends on the humidity... on a rainy you might have to add more flour, while on a dry winter day you would add less. Making pizza dough, or bread for that matter, is a "feel" craft. It's not as precise as cake or pastry baking.You really have to learn the "feel" of a dough that works well for you. This will come with time and after having made many pizzas. Learn to recognize the stages: wet (not ready), very sticky (almost there), a little bit sticky (best), too dry or rubbery (you've added too much flour). Just remember that you can always add more flour, but you can't take it out once you've added too much. Go easy on adding flour toward the end of mixing. You can always add a bit more when it's on the work table.  Why Mix Different Flours? When using bread flour, the body of the pizza softer, breadier and heavier--more like a focaccia or a deep dish pan pizza, but the crust bottom might be too light. Adding some all-purpose flour makes a barker bottom crust. If you use only all-purpose flour, it will be leaner, thinner and often crustier--as with a thin crust pizza. I find using both types is a good compromise between the two types for most pizzas I make. Experimenting with this ratio is a good way to learn how to control what type of crust you need. After gaining experience, you'll experiment with adding 1 cup of whole wheat flour, rye, corn flour or even buckwheat into the mix. However, if you use only a heavy flour, like wheat, your pizza will be tough and leathery and hard to roll out. I tend to use all bread flour or bread flour mixed with wheat or rye flours when I do pan pizzas, Chicago style and focaccia This gives a thicker, more luscious bready texture. When adding heavier flours (like wheat), I also tend to add a touch more yeast to help rise the heavier dough. Use less yeast with a bread-wheat flour mix and you can have a thin wheat pizza crust. Kneading the Dough Turn the dough out onto a floured surface and knead by hand. Flour both your hands and flour the top of the dough on the board. Fold the dough over toward you, push forward with the heel of your hand, then turn 1/4 turn and keep repeating until the dough looks smooth, soft and slowly bounces back when you stick it with your thumb.
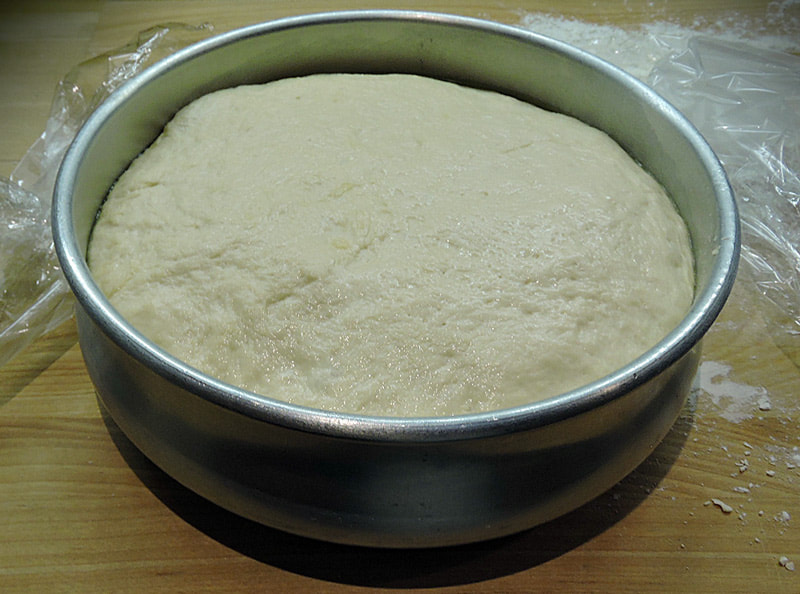
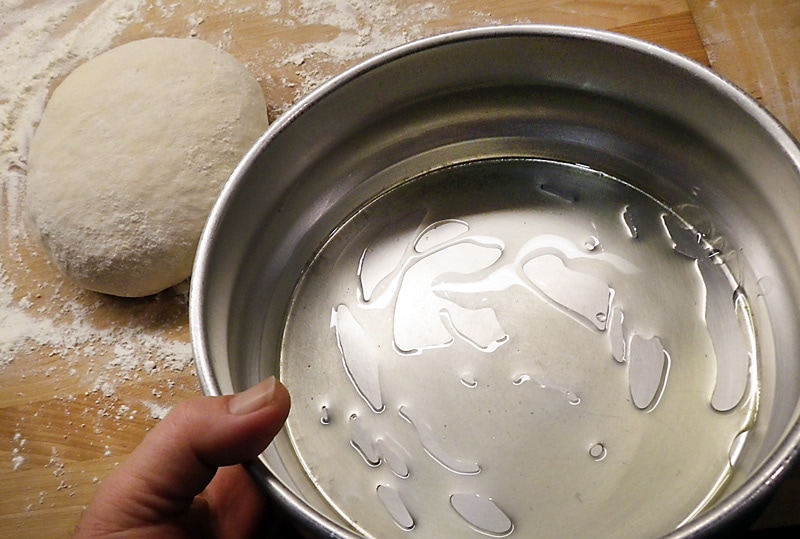
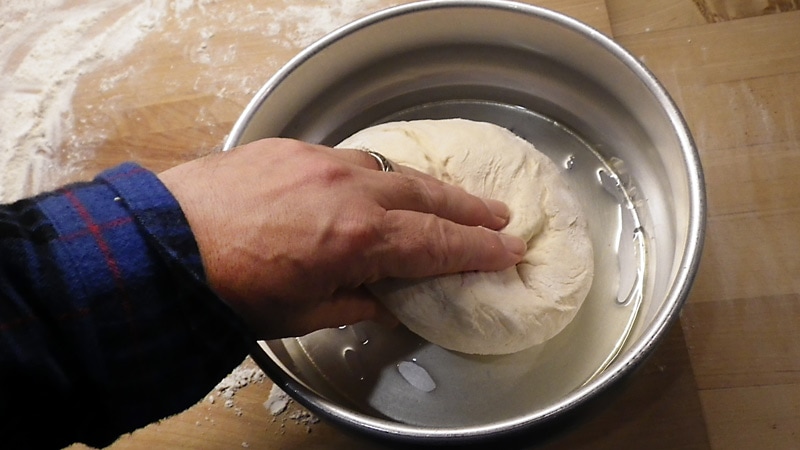
Some say you must knead the dough for 5 or even 10 minutes or more, but I think this produces too much stringy gluten--the glue in dough--and can cause the dough to be tough. Gluten development happens even without much kneading. Besides, I'd rather be eating my pizza sooner rather than later. Tuck in or pinch together the bottom of your dough round and shape into a flat, round shape, then put it in the oiled bowl to rise. Oil both sides of the dough. Cover the bowl with plastic wrap and let it rise at room temperature for 45 minutes. On dry days, I usually help along the humidity a bit and lay a damp paper towel on top of the plastic wrap. You could even use a damp cotton chef's towel. There are two ways to proceed now. One is the quick way--a single rise--the other is longer... a double rise. Typically, for our weekly, Saturday night pizza, I'll do a short, single rise, unless I'm trying something a bit different:
If I'm trying to make a special artisan pizza or focaccia recipe I'll do a double rise:
The longer the rise, the more complex flavor develops in the crust... something I think is unnecessary for a quick "get dinner on the table" pizza. But if you like to experiment, let your dough rise overnight before making pizza. A longer, cold rise will develop better flavor! --Jerry Finzi |

Archives
May 2024
Categories
All
|