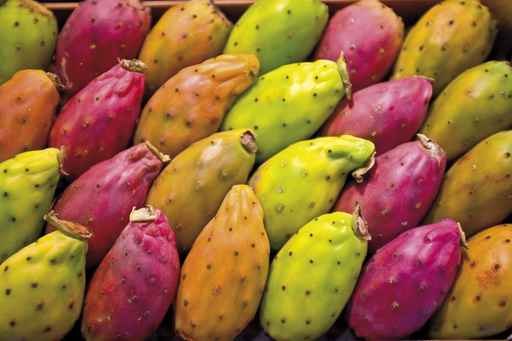
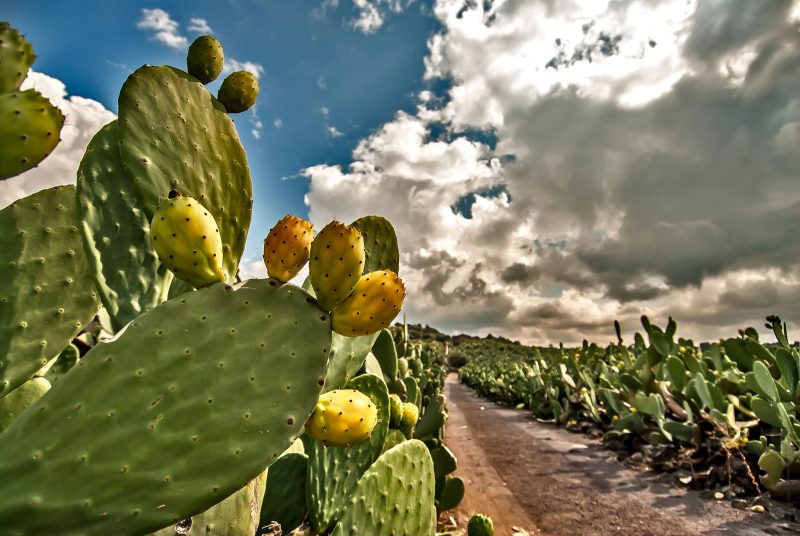
  The fruits of the Prickly Pear in Italy are known as Fichi d'India (India Pears), marketed in America with the friendlier, less dangerous name of Cactus Pears. The plant was first introduced into Europe after the discovery of the Americas by Columbus. The fruits were named fichio d’India (Indian fig) because when Christopher Columbus arrived in the new continent and saw prickly pears he thought he was in India. These colorful fruits make a sweet snack or a margarita mixer. Unlike Mexico and other countries, Italy doesn't use the cactus paddles, but simply loves this pear shaped fruit. Intensive plantations across Sicily and the southern mainland make it only second to Mexico in cactus fruit production.
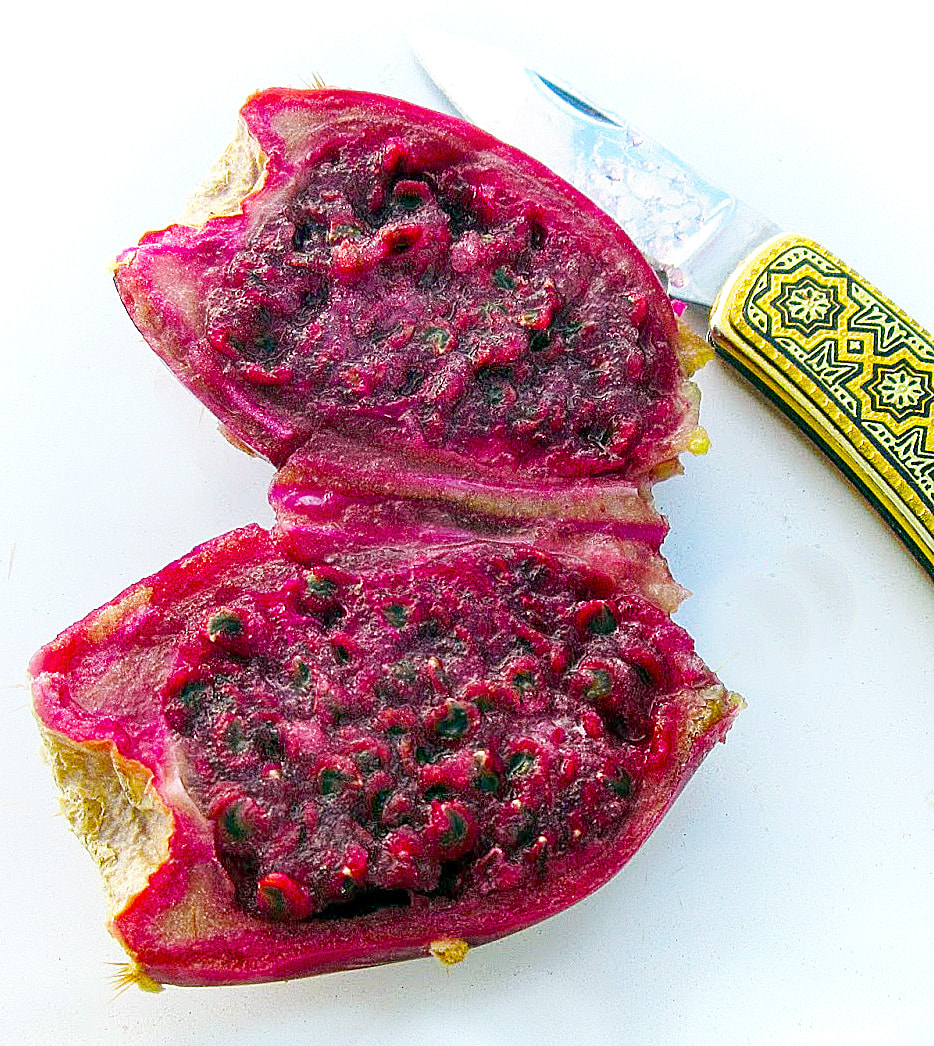
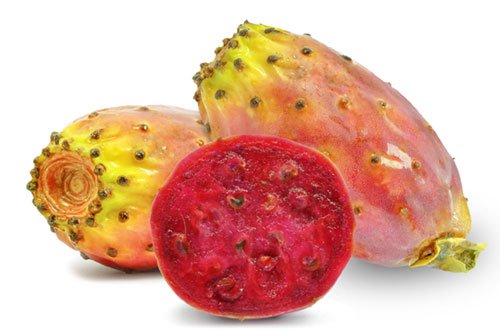
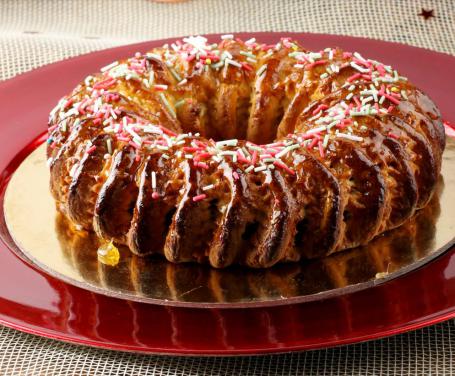
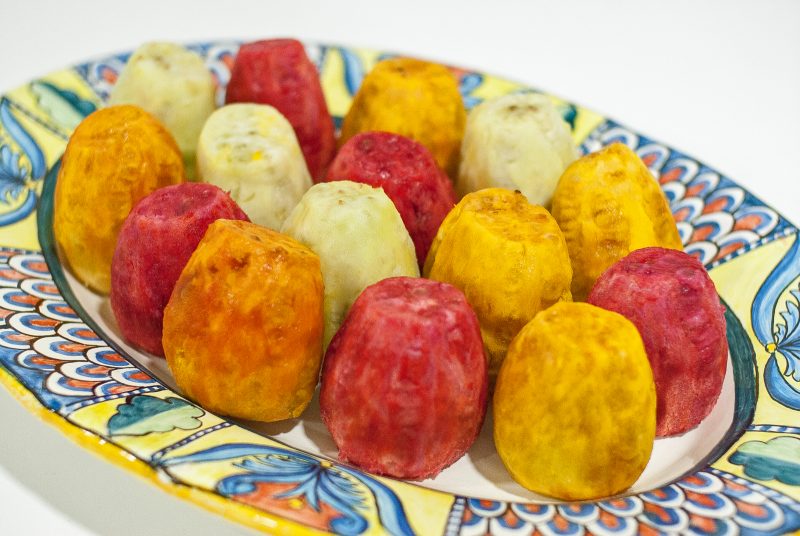
 Large, crunchy seeds Large, crunchy seeds In reality, the word “prickly” lessons the dangerous aspect of the spines of this fruit. But it's not the obvious large spines of this cactus that are the problem, the real danger is from the tiny, nearly invisible hair-like spines that completely cover the skin of the fruit that you have to watch out for. If you touch them with your bare hands, you won't be able to wash them off... microscopic hooks dig into your skin causing burning pain. 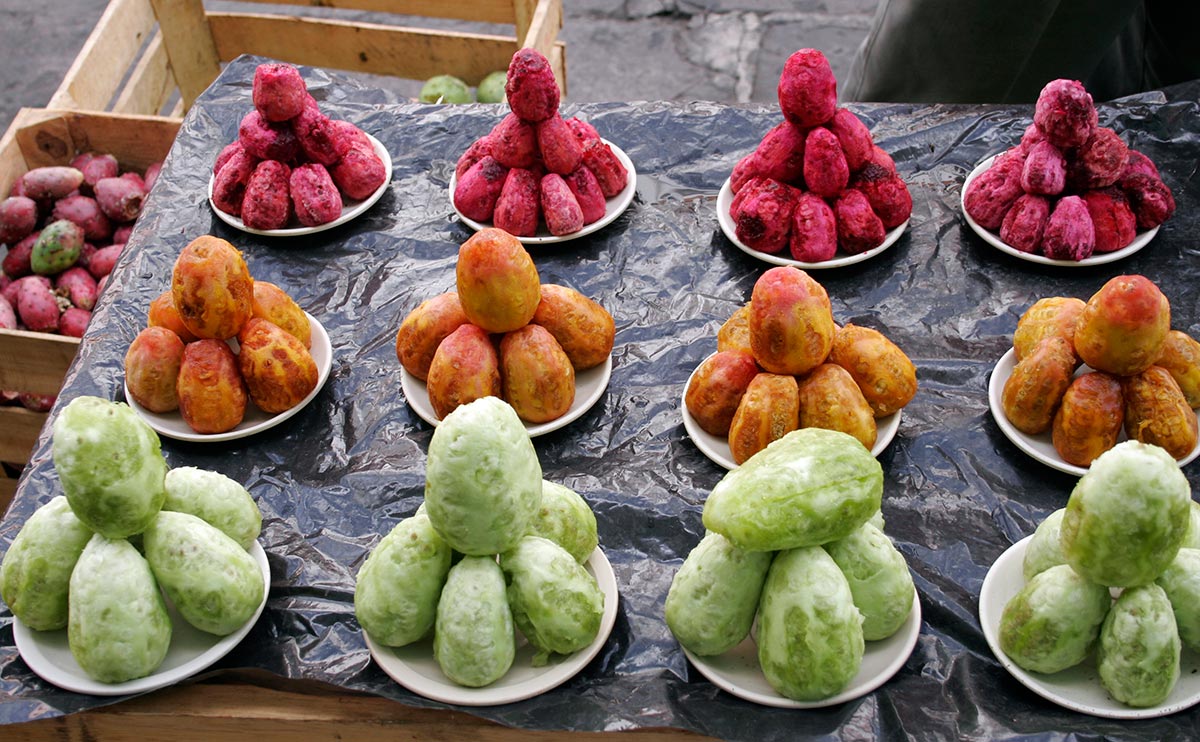 What do they taste like? Many say that Fichi d'India are sweet but not too sweet. Some describe the flavor like a fig crossed with a plum. They are also very seedy, with big, hard seeds. Some like to feel the crunch of the seeds between their teeth, while others eat them as they do pomegranates, swallowing seeds along with the gelatinous flesh (think, "fiber"). In southern Italy (especially Sicily) people love eating them fresh. You will often find them pre-skinned and ready to eat in market displays. The taste varies with the color--white, orange and red. Some say that the red ones have more flavor than the other colors. One interesting tradition is winery owners giving the fruit to their grape-pickers for breakfast to prevent them from eating grapes during the harvesting. This tradition is still kept today.  You'll find the best ones during its harvest time in Sicily, from October to December. There is also a Sagra del FicoIndia in the town of Roccapalumba in Palermo Province held usually in the second week of October. During the feast, the town’s streets will be alive with workshops about how to peel and eat the tuna (Sicilian word for the fruit) of the cactus, how to prepare it for consumption, and there will be opportunities to taste products and dishes made from the plant–everything from honey to liquor to a recipe called scuzzulata. More than 30,000 people attend.  Culinary Use Besides being eaten fresh, Fichi d'India can be used in salads, vinaigrette and made into granita, jams or honey. They are also used in Sicilian cakes, such as Buccellato, which is very common at Christmas time. You can drink juice from the fichi d'India, but it really needs some lemon added for additional acid. In fact, it is often used in commercial drinks as a flavoring.
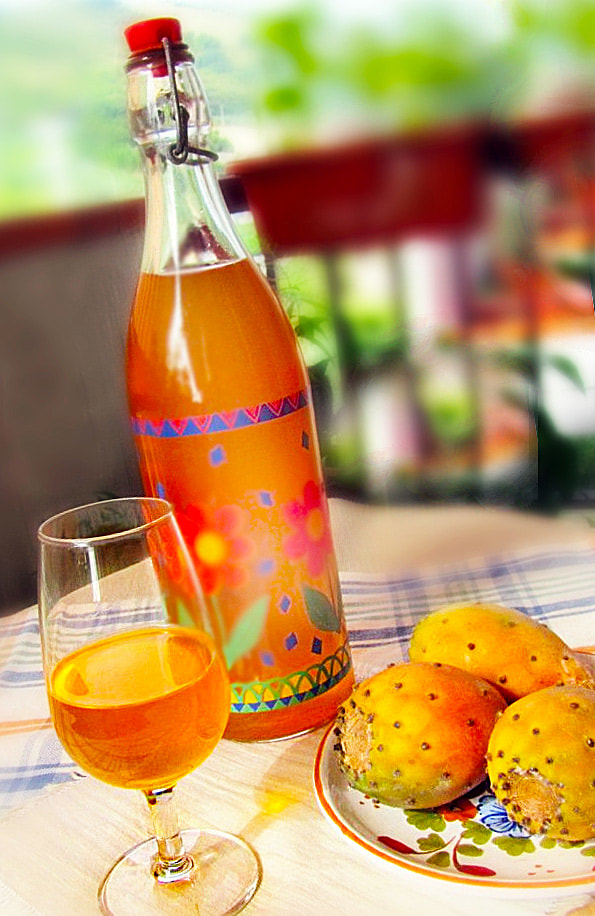 Many make a home brew--Liquore al fico d’india--from the fruit in a similar manner as one would make limoncello, placing the cut up fruit in jars of alcohol with a sugar-syrup and fermenting in a dark place. The resulting liquor is best served very cold. The fruit is high in vitamin C, antioxidants. calcium and phosphorus. --Jerry Finzi This video shows how to skin and harvest a Fichi d'India fresh from the cactus plant--without getting hurt. Here are two Nonnas showing the sensible method of skinning the Fichi d'India by soaking them first in a bucket of water.
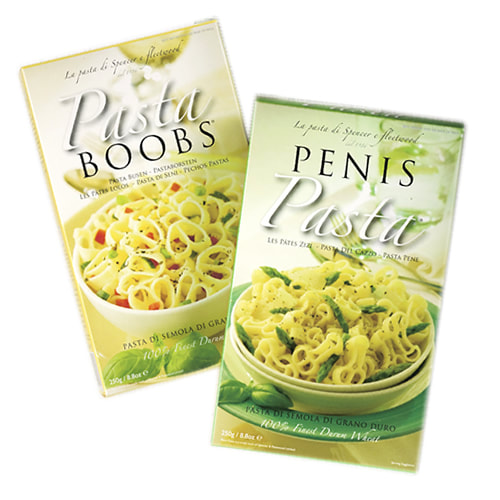
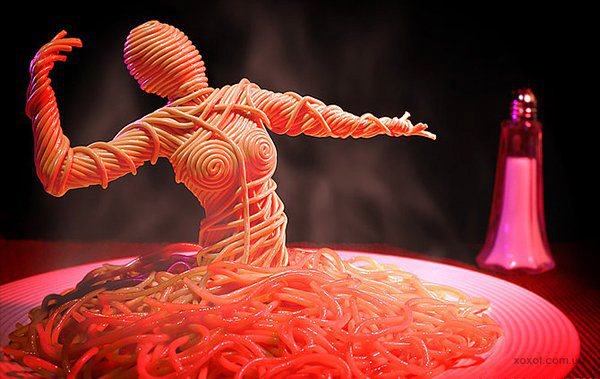 No comment...
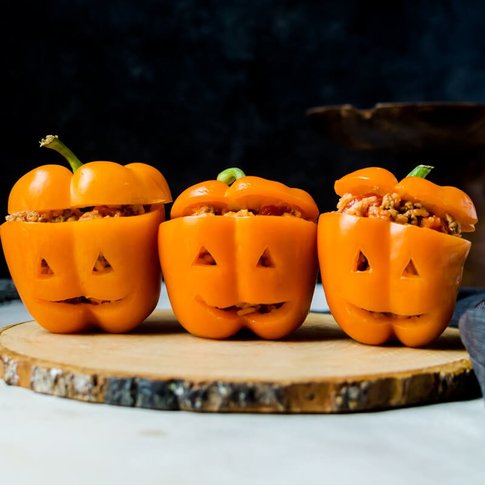
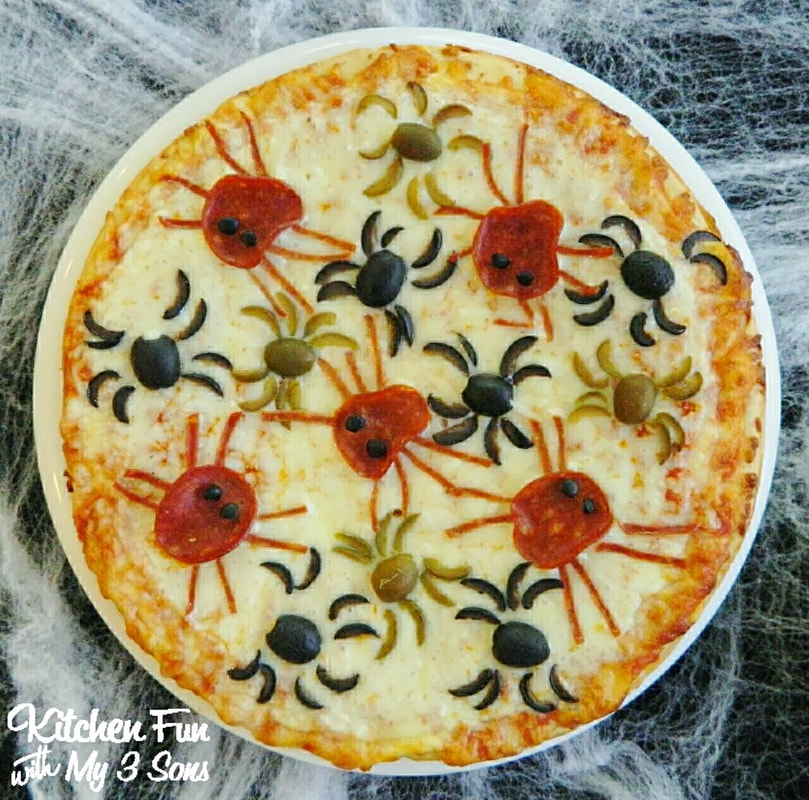
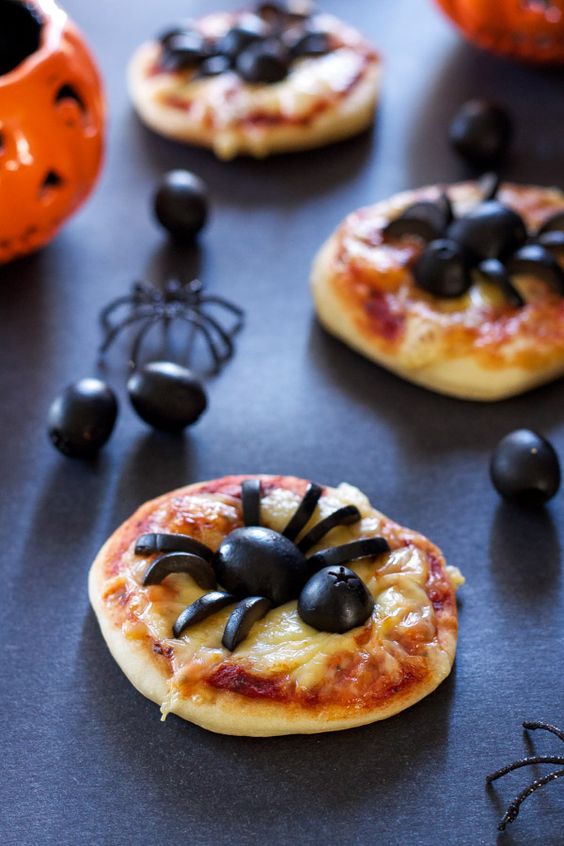
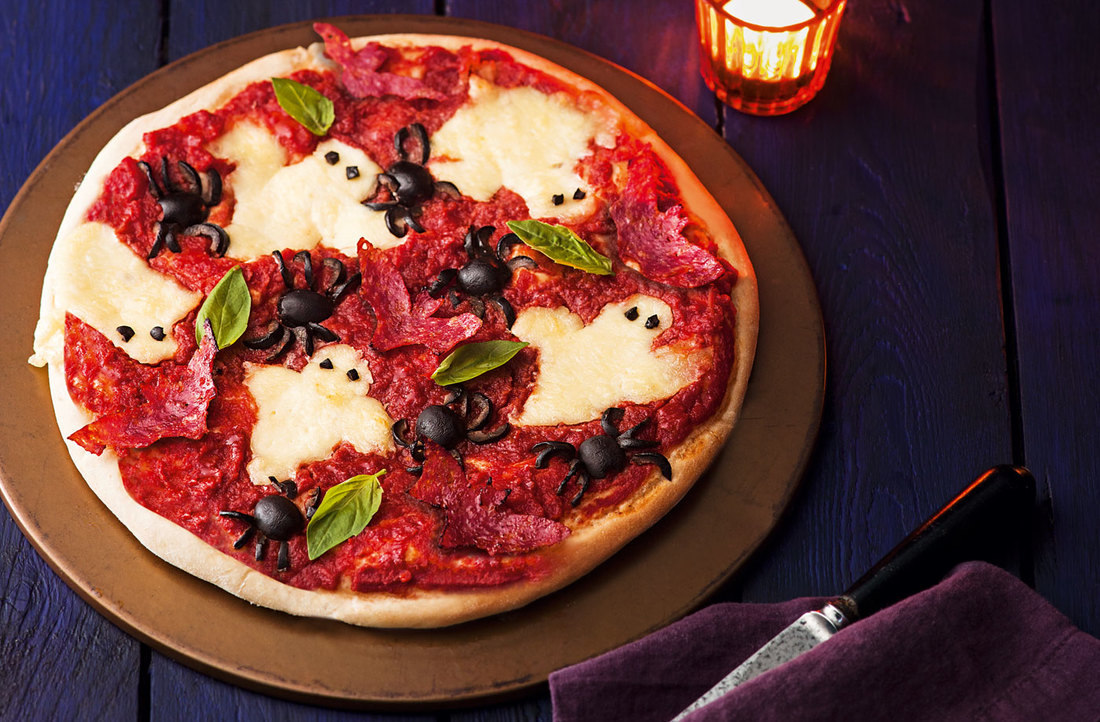
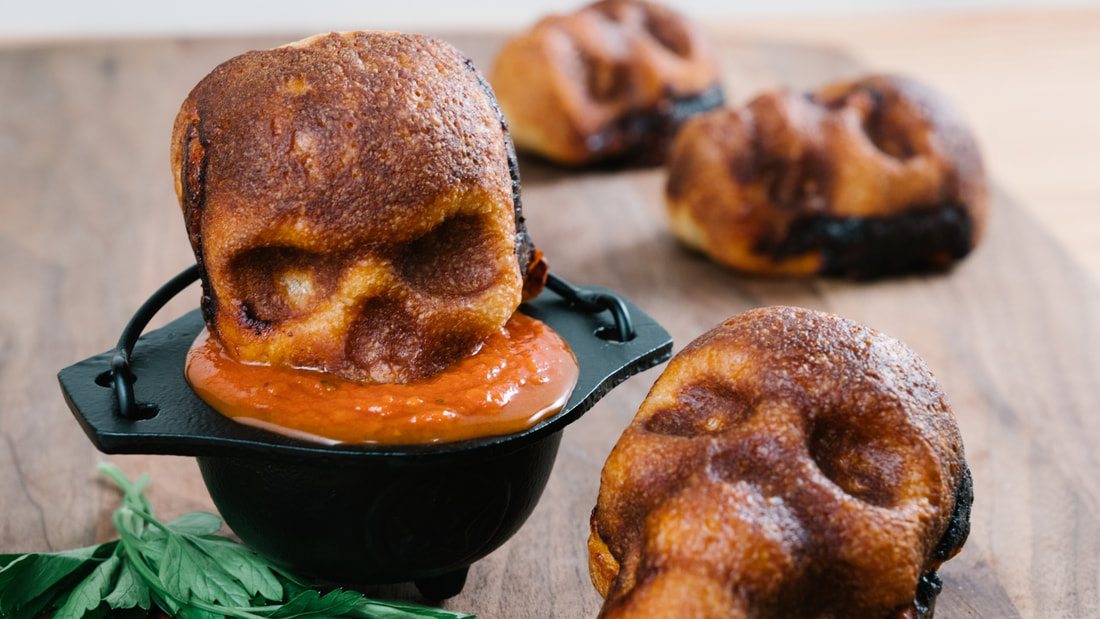
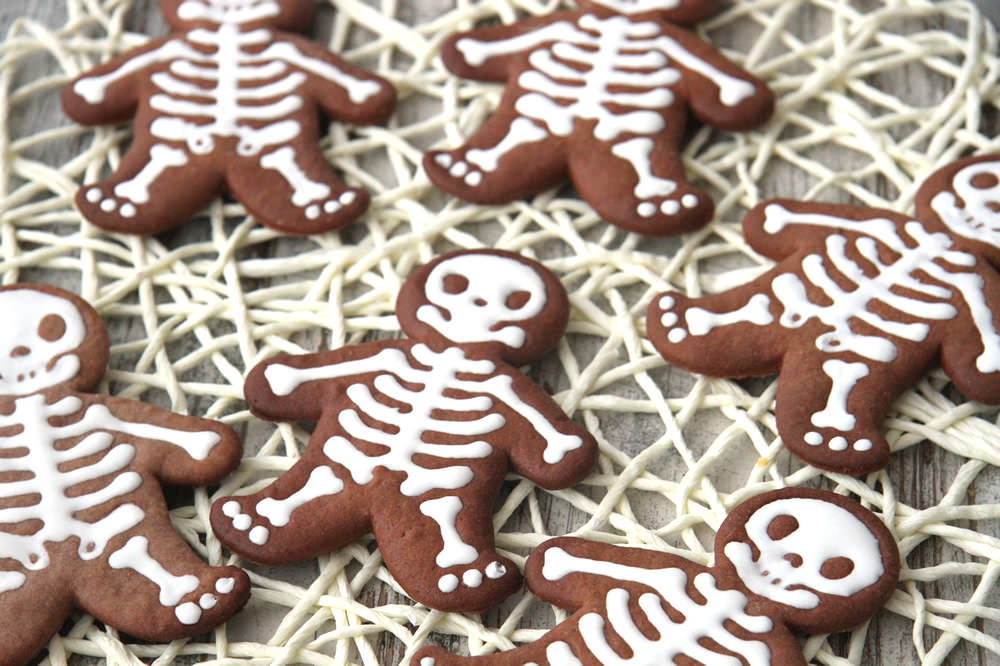
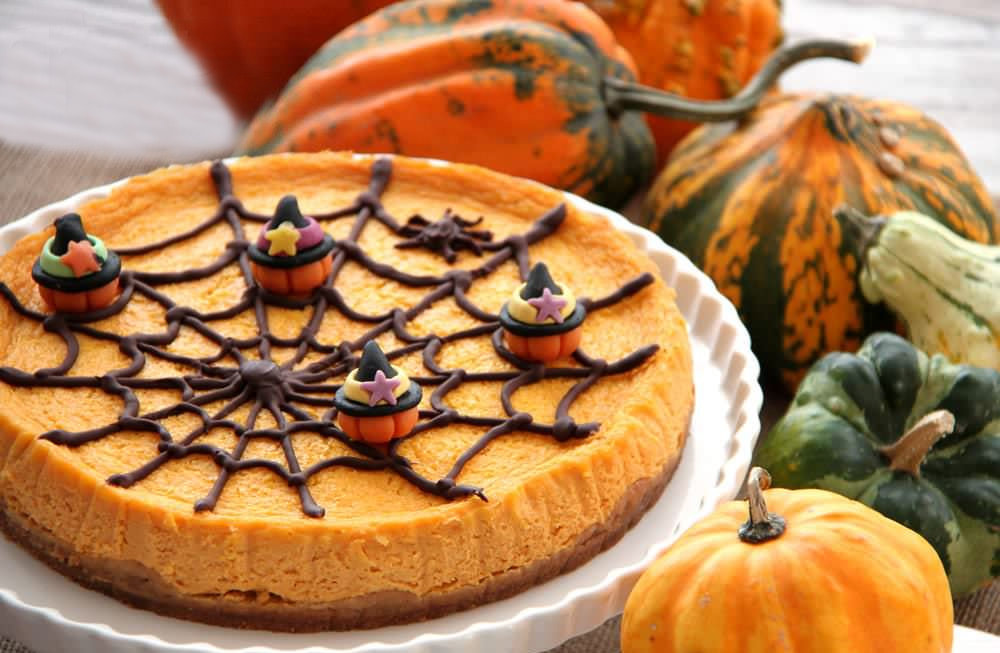
 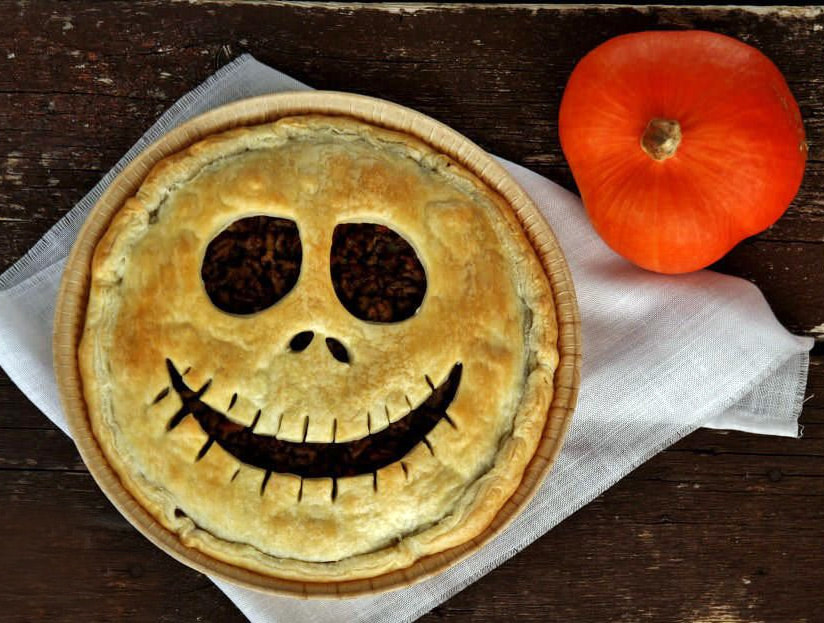 Here are some great recipe ideas for your Halloween parties... Italian style! Click on the photos to take you to each recipe. Enjoy! --Jerry Finzi 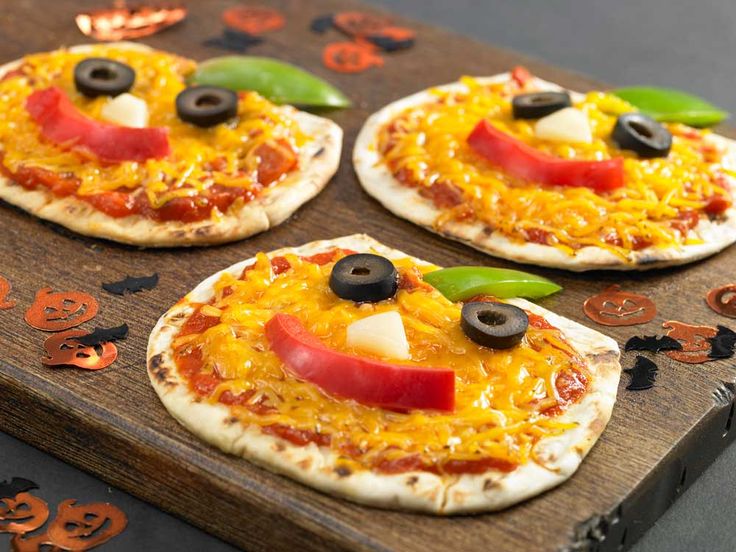
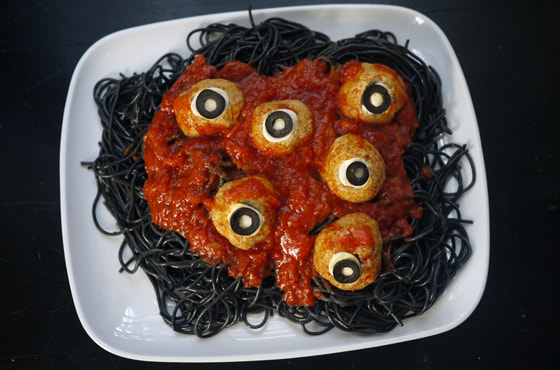
   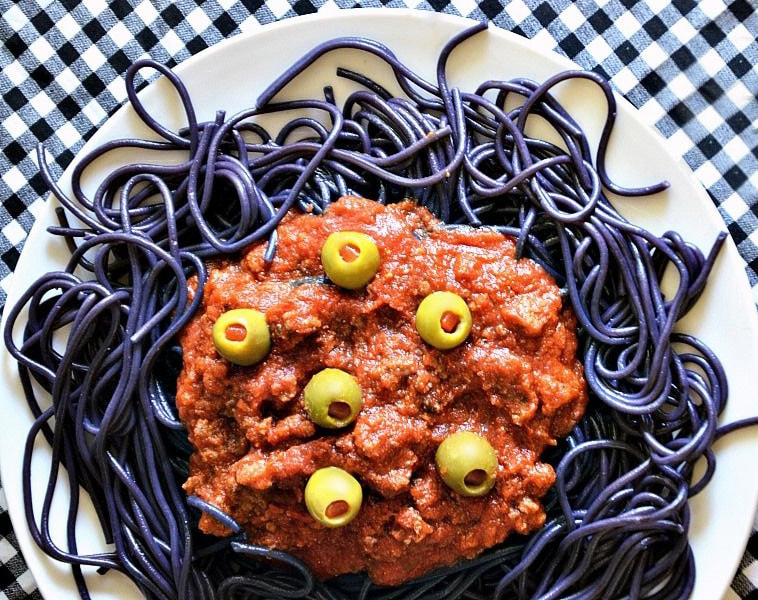 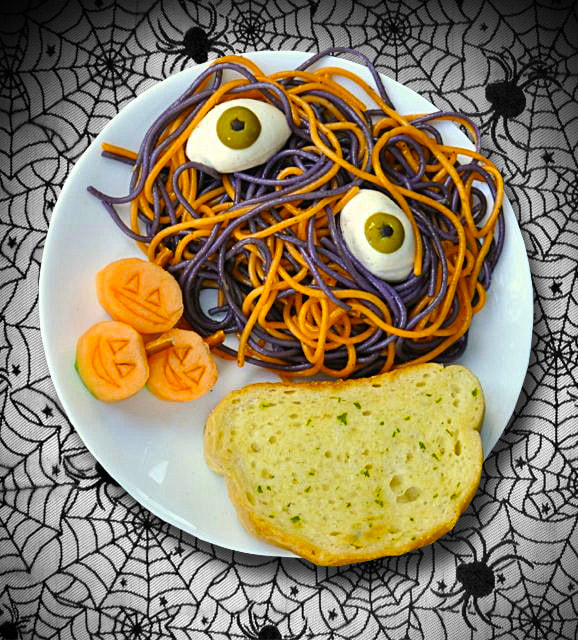 Another version using buccatini eyeballs Another version using buccatini eyeballs Black wormy spaghetti, green monster eyeballs with bloody roadkill sauce... Yummy. Perfect for the little ghouls in your family. Ingredients 1/2 tsp black paste type food coloring (they come in small jars). 1 16 oz box of thick spaghetti or bucatini (if it's too thin, it won't have that wormy look) 4 quarts of water 3 tablespoons sea salt or Kosher salt Large green olives stuffed with pimentos (Buy the fresh large ones, not bottled), or as an alternative, use buccatini (mozzarella balls) for use as eyeballs. Spaghetti sauce, preferably a textured, meaty sauce, like a Bolognese.
You might even try using meatballs topped with halves of buccatini with sliced, pitted olives as the eyeballs on a bloody plate of spaghetti. Enjoy... and keep an EYE OUT for monsters! --Jerry Finzi 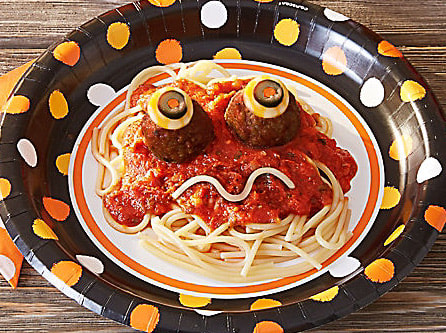 Each year, we create a gingerbread house with last year being our first time in a local competition. (We received an Honorable Mention for our Gingerbread Leaning Tower of Pisa). But Lucas, Lisa and I have a real challenge ahead of us this year... a project we've wanted to do for the last three years: The Roman Colosseum! This past week we started planning it, and are coming to the realization that this will be one of the most challenging creations to date. As an inspiration, we've been looking all over Google, Pinterest and You Tube for other Colosseum gingerbread and cake creations. It's going to be a tough project for sure. Here's two of the better cakes we found that blew us away, even though they are partial scenes of the Colosseum. We love the amazing details done in modeling chocolate... 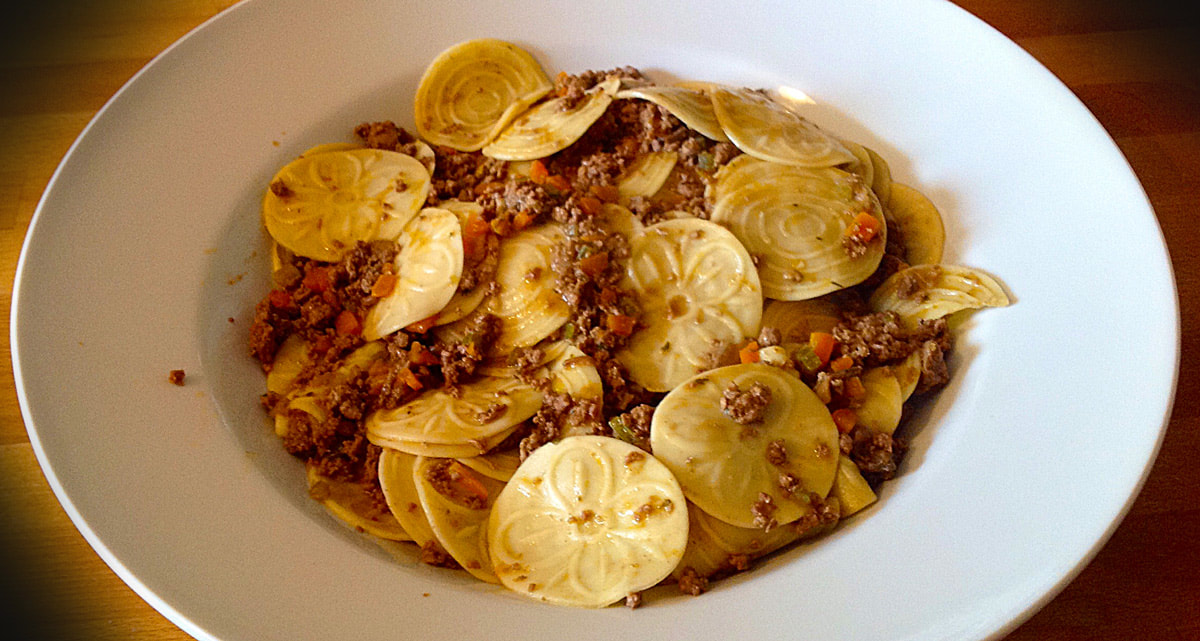
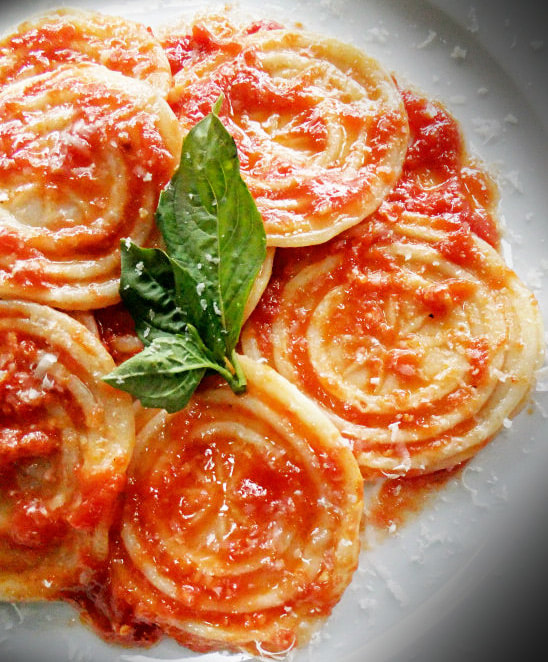
The Ligurian region of Italy lies along the border of France and is home to a very special fresh pasta called Corzetti. In this article, we will only discuss corzetti stampae, coin-like fresh pasta cut and embossed with various decorative patterns, one-by-one, using a special wooden stamping tool, itself specially hand-made by artisan wood craftsmen using both wood-turning chip carving techniques. They are typically made out of maple, or fruit woods like pear or apple. In the Genovese dialect these coin pastas are called curzetti. Making corzetti is very laborious and time consuming, and as such are typically made only during the holidays or for special occasions.
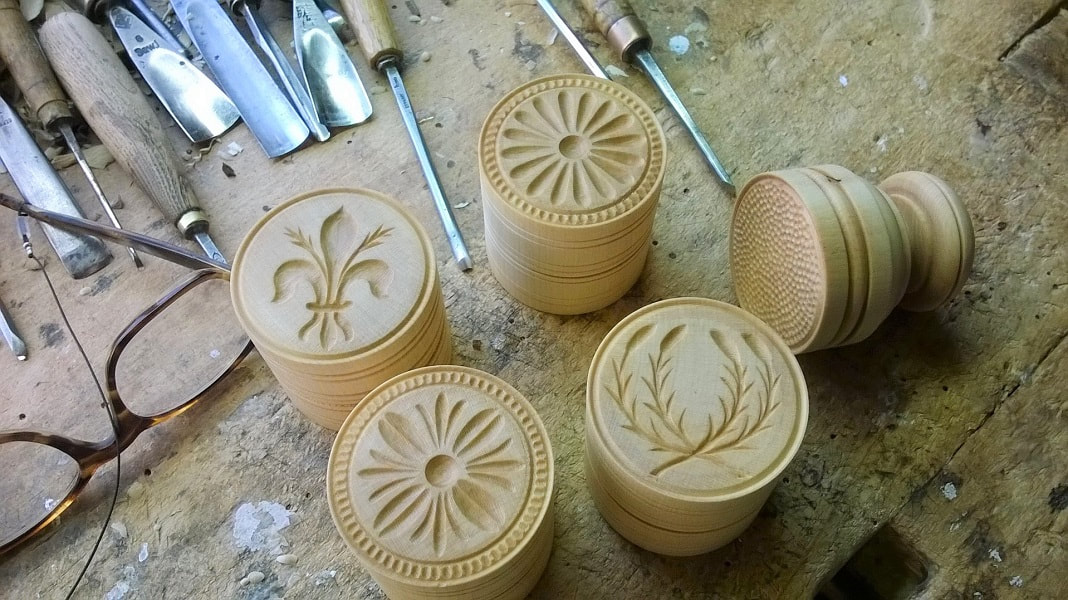
Making the Corzetti stamps is an artisan craft
 Figure-Eight shaped Figure-Eight shaped
There are also a different type of Corzetti from the Val Polcevera, one of the principal valleys of the area of Genoa, that are made in "figure eight" shape and look nothing like coins. 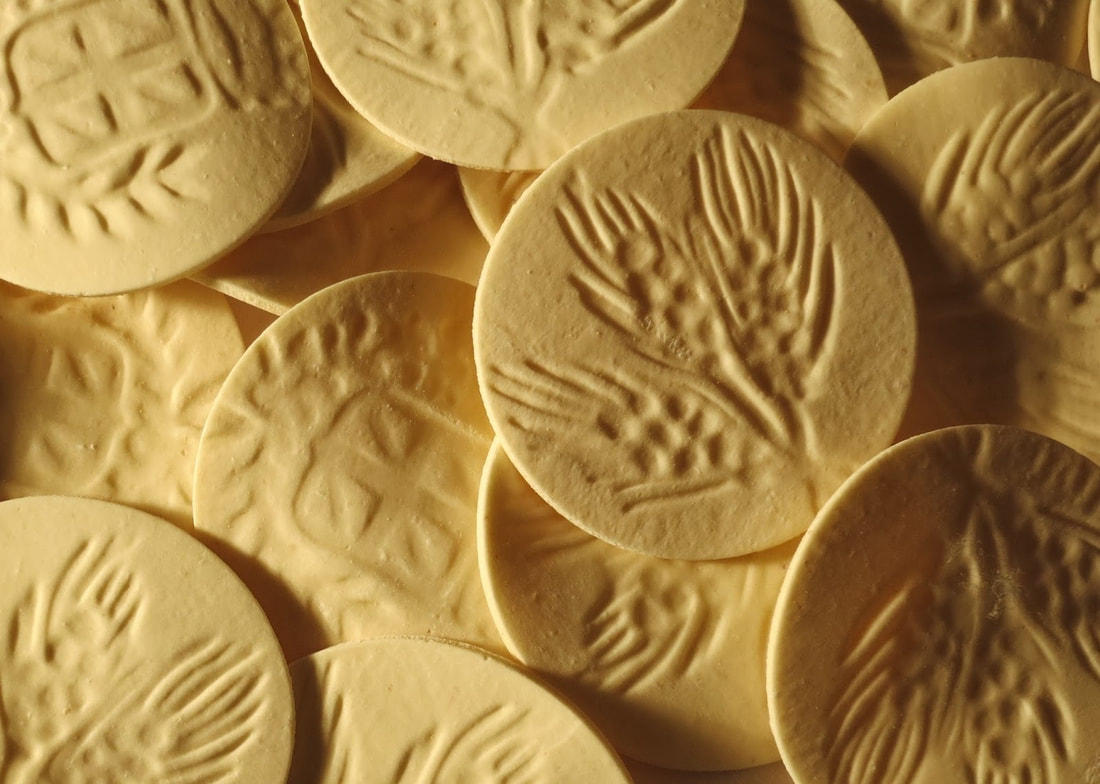
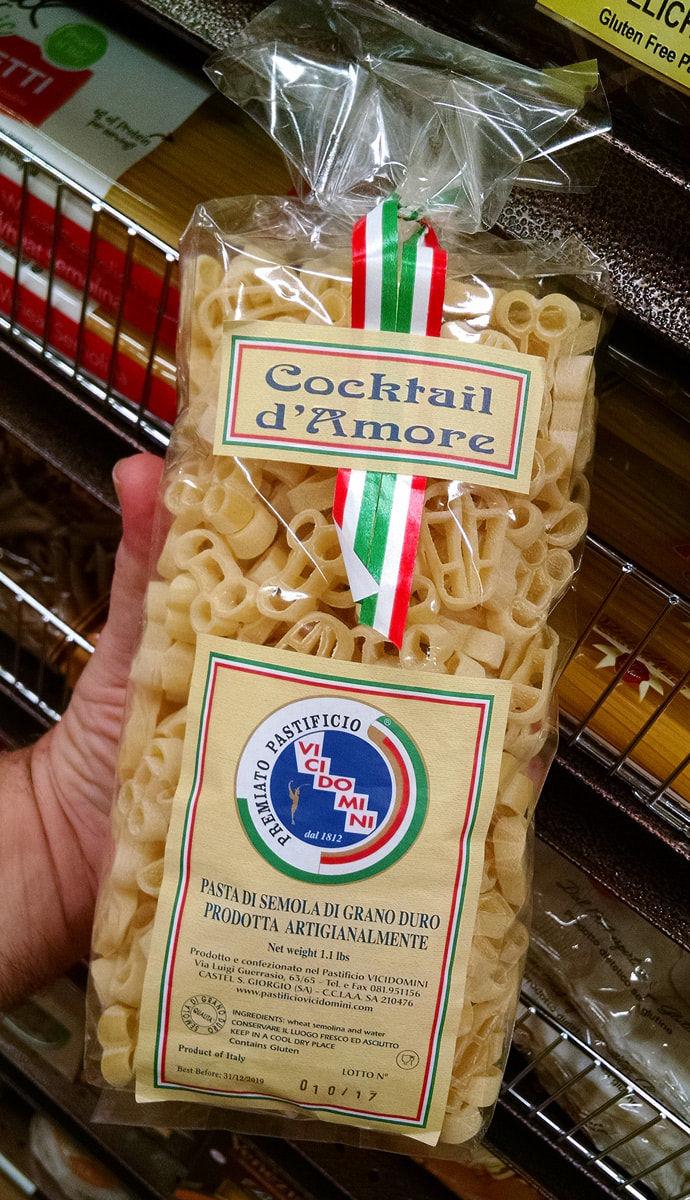
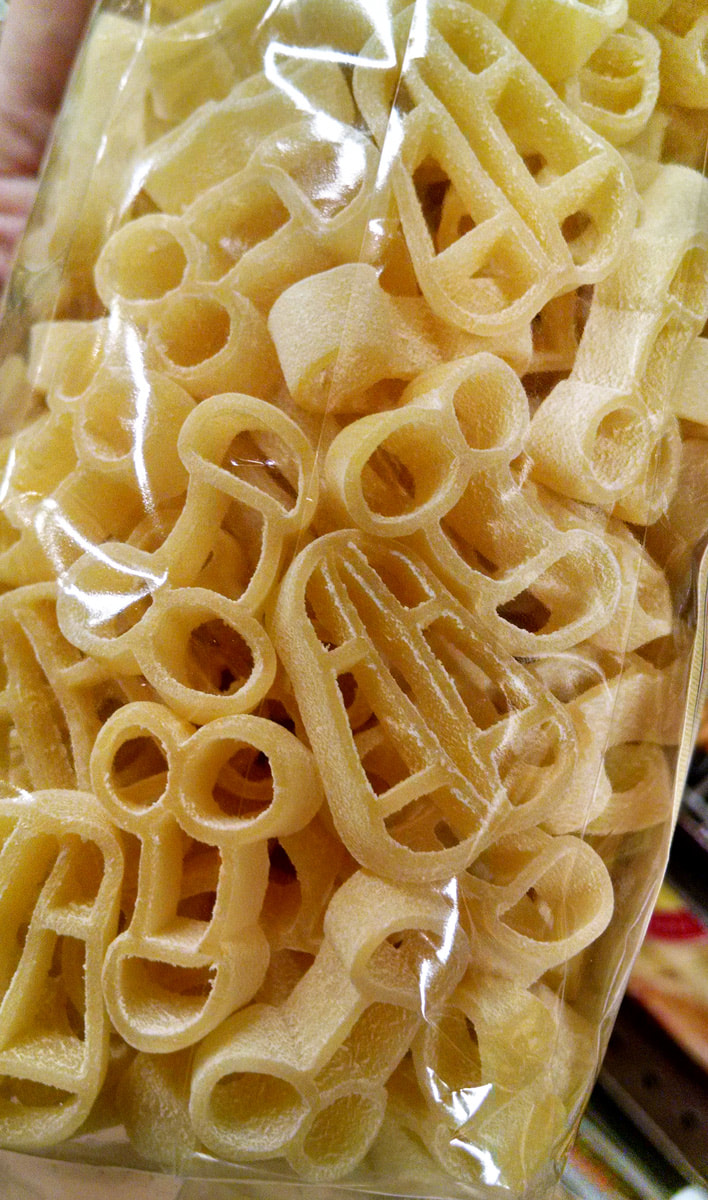
Factory made, dried Croxetti
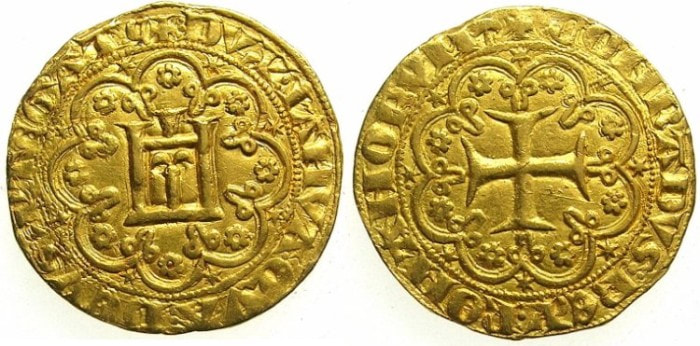 Genovini d'0ro gold coins Genovini d'0ro gold coins
In Latin, the word for cross is crux. Cröxe in Genovese dialect also means cross. So one might realize that the word croxetti (in Italian), might be referring to the "little cross"--gold coins that were made in the 12th century called Genovini d'0ro. It's no surprise that many refer to Crozetti as "coins".
It is also possible that during the Renaissance they were used for weddings with the coats of arms of both bride and groom, one each on either side. Some claim that one local family made corzetti to impress Maria Luigia of Borbone, just before leaving for France to marry Napoleon. 
For an extra fee, a corzetti stamp maker can even carve a custom pattern for your family
There are some very simple and traditional recipes corzetti sauces. One of the oldest sauces is from medieval times, a pesto made with marjoram, pine nuts, walnuts, olive oil and parmesan cheese. Another similar recipes uses melted butter in place of olive oil, and places the ingredients in the hot pan rather than mashing into a pesto. Here is another fantastic sauce made using walnuts... Sugo di noci 1 ½ cups chopped walnuts 1 medium size clove garlic 1/2 cup of fresh ciabatta bread, cubed, soaked in a bit of milk, then squeezed nearly dry. 1/4 cup fresh marjoram leaves 3 -4 tablespoons grated Parmigiano Reggiano 1/4 cup Extra Virgin Olive Oil a pinch of salt Run all the ingredients in a blender until smooth, with some texture remaining. This sauce can be used as any pesto, tossing with the pasta. If you like, you can also place the sauce into a large saute pan and heat along with the corzetti. 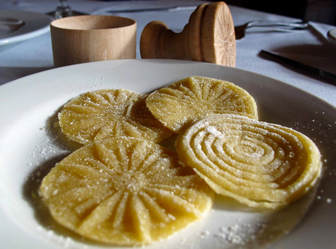
Making Corzetti
The ingredients for the pasta are for 4 persons. 3 1/3 cups all purpose flour. 5 egg yolks 1/4 teaspoon salt 1 cup of white wine
I hope you take the time to make corzetti for your next special event or holiday meal. Let us know how it turned out!
Ciao... --Jerry Finzi 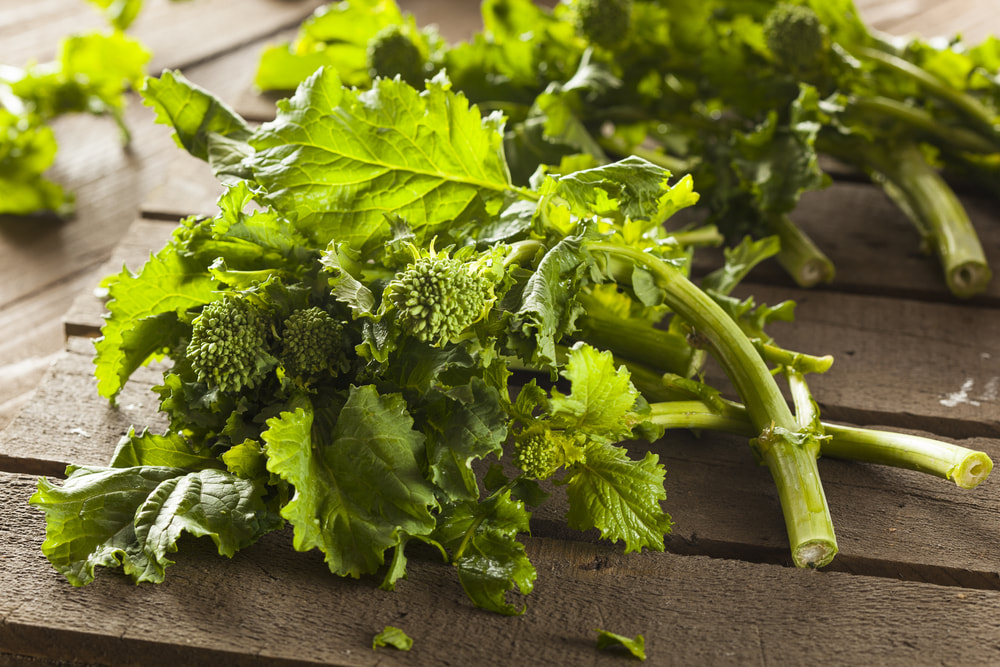
Broccoli rabe (räp’ - eh) is actually a member of the turnip family (rabe in Italian means turnip). The stalks, leaves, florets or yellow flowers are all edible. The leaves and stalks are usually cooked to soften their toughness and the flavor can be described as nutty, bitter, peppery or spicy and reminiscent of mustard greens. Broccoli Rabe can also be called broccoli raab, broccoli rape, or rapini, although, botanically speaking, rapini is a different plant entirely.
Rapini and broccoli rabe are close cousins and their names are often used interchangeably. They are in the same subspecies as the turnip, hence they have the characteristically slightly bitter taste of this group. Neither Rapini or broccoli rabe form the large floret heads that are seen in broccoli. “Rape” is the Italian name for turnip. Broccoli Rabe is not broccolini. Broccolini is a hybrid created in 1993--a cross between broccoli and Chinese broccoli. It has small florets, long stalks, and a few small leaves, where Broccoli rabe has large leaves. Broccolini stalks look like asparagus. 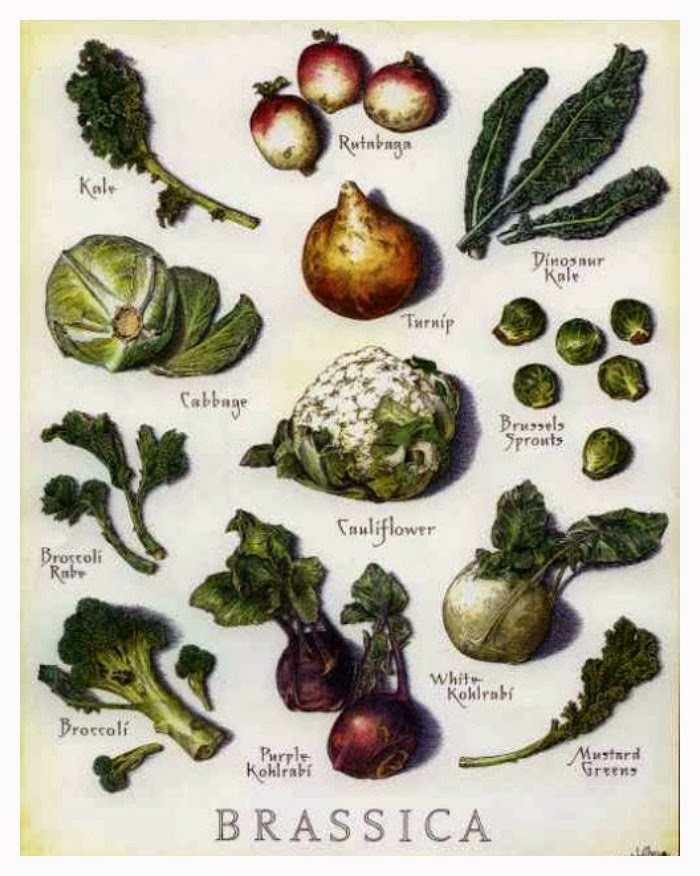
History
Native to the eastern Mediterranean and Asia and one of the earliest cultivated crops, broccoli rabe (Brassica rapa) was first eaten for its roots and leaves. It can also be allowed to flower and go to seed, with seeds collected and crushed for their high oil content (40 percent), commonly known as rapeseed oil, or in today's cooking as canola oil. The oil, in its simplest form can be used as lamp oil and a lubricant, in the same way olive oil has been used throughout history. Brassica rapa may have been used as oil in Italy as early as the 13th century and was the major lamp oil in Europe by the 16th century. Botanically speaking, Brassica campestris, Brassica rapa and Brassica napus are identical. In Italy, there can be different names for it: in Naples it is known as friarielli; in Rome broccoletti; in Puglia, cime di rapa (literally meaning "turnip tops"). It is also known as i broccoli friarelli and sometimes broccoli di rape, rapi, or rapini (little turnips). 
The Classic dish from Puglia, Orecchiette with Broccoli Rabe
How to Use Broccoli Rabe
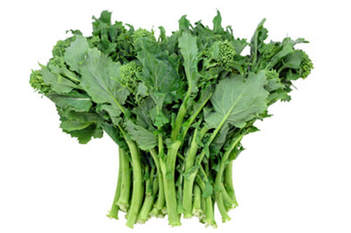
How to use broccoli rabe in Italy depends on the region... in northern Italy, they will throw away the florets and use only the leaves, while in southern Italy, they will throw away the leaves and each only the florets. It is a cool season crop, so you will find it locally--and fresh--during late fall, through the winter and into early spring. In U.S. supermarkets, you can usually find it year-round, grown in other countries and flown in. Broccoli rabe contains tons of nutrients: 3-1/2 ounces provides half your daily requirement of vitamins A and C. It’s also a good source of folate, potassium, fiber, and calcium. It's also high in antioxidants, protecting you from cancer, inflammation and coronary disease. Make sure you are buying fresh broccoli rabe. Look at the base of the stalks for a cream color (not dark). They should be crisp, not floppy. The leaves should not be floppy or dried out and the buds should be bright green. If they are yellowed, pass them by. It's natural bitterness is lessened with cooking and pairs well with strong flavors like pork sausages or starchy things, like pasta, rice and potatoes. If you like it milder, just cook a bit longer, or after blanching in very salty water (the way you cook pasta), remove from the water, drain and then saute in olive oil. (In Puglia, they tend to omit the blanching in water). As for the stalks, if they are large, peel them first before cooking, they same way you would peel asparagus. If you are using the florets, throw them into the pan after stems or leaves... they are tender and cook fast. If you are growing your own and your plants have started to bolt and produce yellow flowers, it's not a total waste (see below about plants "bolting"), just snip the edible flowers to toss into soups or salads or to top off your plating.
How to Grow Broccoli Rabe from Heirloom Seeds
The only difficulty is that the seeds are very tiny. You can sow them directly in the garden, but then thin the seedlings as soon as possible to 4 - 6 inches apart. You can use the seedlings right away by washing and tossing into your salads and soups. When to grow broccoli rabe is up for debate. While it is considered a cool weather crop, like turnips, lettuces or radishes, many old Italians will tell you that they grow it all year long--even when the weather turns hot. You can plant seeds right after the last frost, but need to grow smaller and faster growing varieties... and remember to cut and harvest just as the florets are forming... not after. Interestingly, varieties might have numerical names that correspond to their growing cycle, such as Quarantina (40 days), Sessantina (60 days) or Novantina (90 days), but regardless of the name, you need to pay attention to the plants and harvest immediately as soon as you see the florets forming... and all varieties tend to form flowers earlier than the seed packets claim. Wait too long--a day or two--and your plants will bolt (stop growing leaves and put their energy into producing seed). If this happens, this bitter plant will instantly turn into that proverbial bitter pill. Stalks will store in your refrigerator for about 10 days, so it's best to stagger the planting of your seed into batches a week or more apart to ensure a fresh supply during the growing season. One warning about growing broccoli rabe from seed... they tend to cross pollinate with other braccias like broccoli, turnips and even it's distant cousin, mustard. Don't plant braccias too close to each other.
If you want an authentic way to make the famous dish from Puglia, Cime di Rapa, check out this video with Gennaro Contaldo, from the Two Greedy Italians cooking show from BBC... Favoloso!
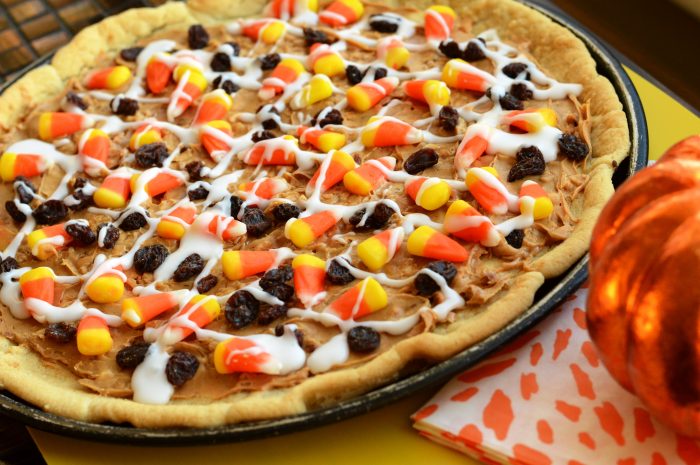 Using cookie dough as the crust 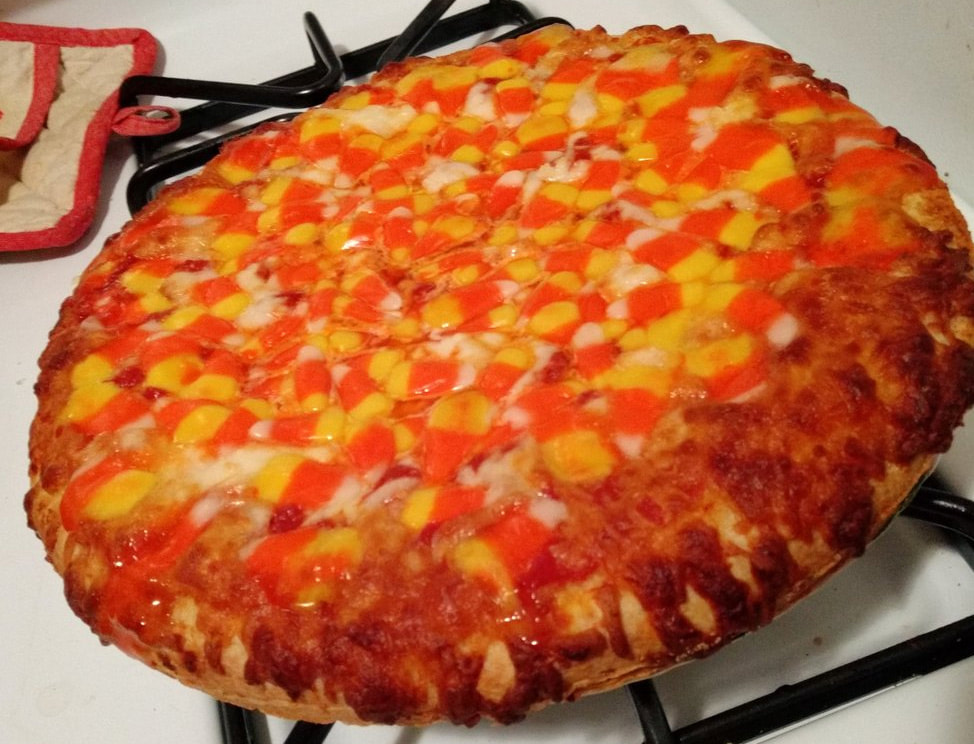 Baked on a real crust with mozzarella and tomato sauce Now, the Candy Corn Pizza shown below, I would recommend for a kid's party. The kids will get one giant "candy corn" slice each. It's actually a real pizza crust made with Alfredo sauce or ricotta (for the white) and cheddar cheese (for the yellow). You can brush the edges of the crust with a light tomato sauce to make the edges more red-orange if you'd like. In essence, this does qualify as a genuine pizza. The others? Not so much. 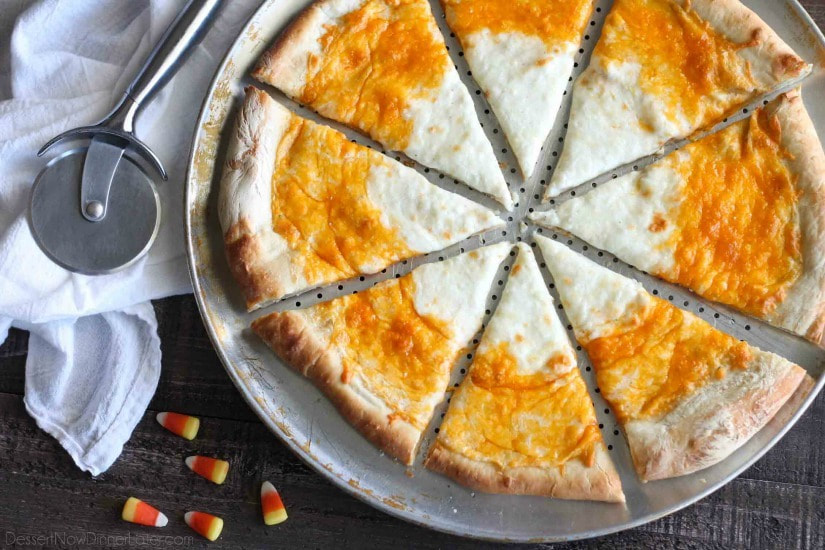 Recipe
My pizza crust recipe (use half to make smaller pizzas) 1/2 jar of white sauce (Alfredo or garlic parmesan, etc.) or ricotta cheese 1 1/2 cups shredded cheddar cheese 3/4 cup shredded mozzarella cheese 1/2 cup tomato sauce
--Jerry Finzi |

Archives
May 2024
Categories
All
|