|
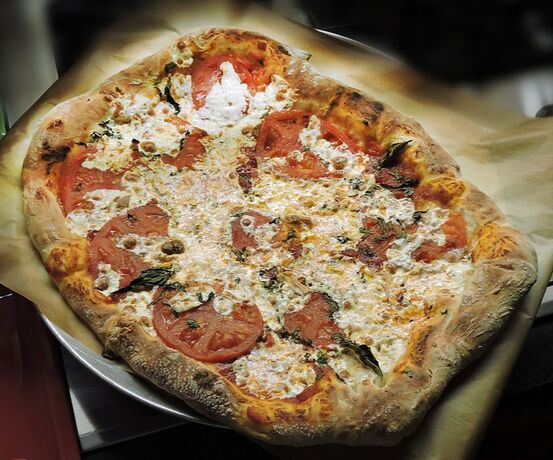
When I starting making pizza about 20 years ago, I made a lot of terrible pies... doughy, pale-looking, tasteless, flat, oily, floppy, burnt--you name it. Lots of mistakes. But that's the part of life I love--learning from our mistakes and really fine-tuning a craft, talent or skill. You have to crawl before you walk or run. On guitar, one must pluck before you strum and then learn chord changes before making really beautiful music. On my penny whistle, I squealed like a pig before I could play a tune that my wife wanted to sit and listen to. My love of carpentry started when I was 5 years old... with me holding the board while my father sawed it through. Now, I can built pretty much anything I set out to build. Learning to make truly great Pizzas requires the same attitude--learning from mistakes--and successes, as they add up. I would say that it took me about a year to learn how to make a really pizza deliziosa. It was perhaps another few years until I could make pretty much any style of pizza... crispy thin crust, bready focaccia, steamy Chicago deep dish, Detroit style, Grandma's pizza, Sicilian sfincione, a classic Neapolitan or even variants like pizza rustica or pizzagaina during the holidays. I'm not saying it will take you a year, especially since you have me to help you along! You have to start somewhere, and with that simple fact, you need a simple dough that works. I am going to show you how to make my all-around, Basic Pizza Dough... But, first... What Tools Do I Need to Make Great Pizzas? First, a brief mention of tools... To start with, you need a large enough work counter to make your pizzas on. Hopefully, this won't be too far from your oven. The work-space can be anything: marble, granite, Formica or wood. Personally, I like using a wood surface. I use a large board designed for making breads and pie crusts that always sits on my work counter. Keeping it well floured keeps dough from sticking, but when I need it, the texture of wood can be an aid when kneading. A bench knife (or bench scraper) is also a must-have too, used when dough does stick, for scraping and cleaning the counter and cutting dough into smaller portions. Processing: A large capacity food processor (with a dough blade) can work well, but I prefer a stand mixer with dough hook. I use a Kitchenaid unit and love all the accessories that can accomplish many specialized tasks. If you really want to go "green", don't plug anything in and learn how to make your dough using the old-school technique of starting with a fontana (fountain, or volcano) shaped mount of flour, with the wet ingredients added and mixed in a well in its center. You can also make your dough in a large bowl like many nonne would do using just their hands and a large wooden bowl. Still, a stand mixer speeds things up. After all, this is Old World quality with modern technology. When making pizza in your home, think of it as making artisanal pizza--not pizzeria pizza. 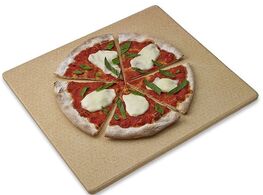 To make a good crust, you really need a rectangular pizza stone... or better yet, a baking steel. A baking steel transfers heat to the crust or pan much more quickly. The size should be at least a 16" rectangular or square to make virtually any type or shape of pizza (or bread). Round stones are limited and difficult to slide loaded doughs onto without overshooting and dropping dough over the back edge. A rectangular stone/steel can efficiently bake pan pizzas, regardless of shape. Remember to preheat your stone in the oven before baking. With a baking steel, preheat for 45 minutes to an hour before baking. Baking pan pizzas on a pizza steel or stone a stone affords shorter bake times and a crispier bottom crust. Placing a pizza in a metal pan directly on a stone speeds up the transfer of heat from the stone to the pan. On a rack, the air in between the rack's wires insulates most of the metal and slows down this transfer of heat from the rack to the pan. TIP: A dark pan will brown your pizza faster, brown better and gives a crispier bottom crust. 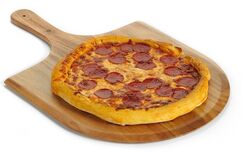 You should also pick up a pizza peel to prep your pizzas on and to remove pizzas from your oven. You might have seen a TV pizzaiolo on occasion loading up their dough rounds with toppings right on their floured, marble work surface, and then drag it onto a peel. Don't even try this. Your dough could stick, you could tear it and heavier toppings will go all over the place. (Because of the way it's made, commercially made dough is often tougher than home-made, artisan pizza, which can be very delicate.) Also, don't be tempted to toss your pizza round up in the air. This is a very advanced skill that requires technique and a stronger dough. While I shape my pizzas on a wooden peel I use a metal peel to remove them from the oven. if space is a premium in your cucina, a wooden one can also do double duty. If you plan on using a wooden peel to remove your pizzas form the oven, select one with a longer handle to make lifting heavily topped pizzas more manageable and make sure it has a tapered front edge. In my opinion, a long handled metal peel for removing pies from the oven is a lot easier to slide under finished, loaded pies. For most kitchens, a 30" long peel will do fine. TIP: In case you have a small, galley style kitchen, make sure you have room to back a long handled peel in or out of the oven before buying one!  When planning to bake pizzas directly on the stone, I recommend using parchment paper on top of your wood peel when shaping your dough. The process: cover your wood peel with parchment; after kneading the dough on your work counter, shape the dough on top of the parchment; next, add the toppings. An alternative method is to shape your pizza round on the work counter on top of a sheet of parchment, then slide the round and parchment onto your peel. Parchment does two things: It helps slide your pizza (with the parchment underneath) onto the baking stone (even with heavily loaded pies); and it helps keep your stone and oven clean. When I first started making pizzas, I used to use stone ground corn meal on the wooden peel (some use flour). You can do this, but I've found that some always falls into the oven itself, gets burned and makes a mess on both the oven and stone.
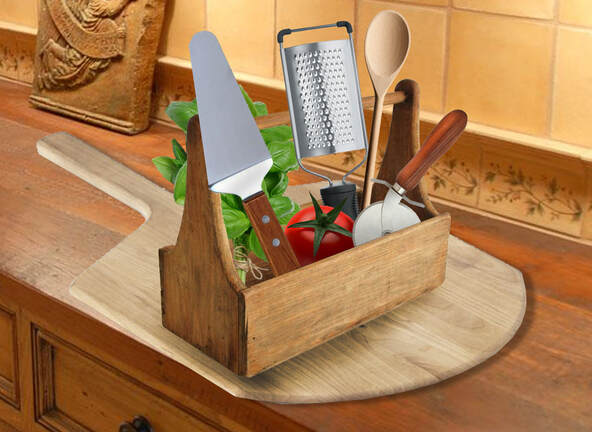
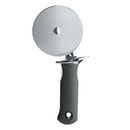
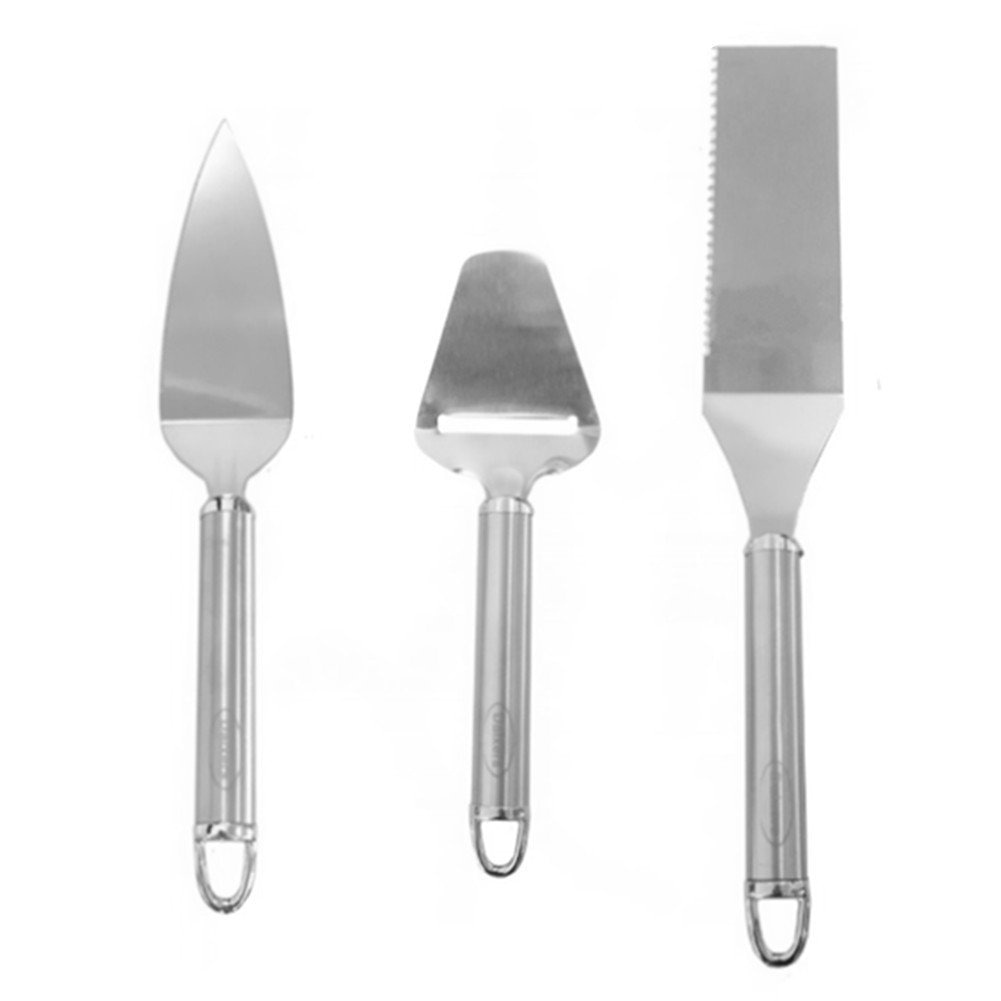
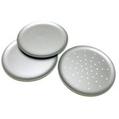 For serving, buy flat, round 16-18" pizza serving pans (the larger size can also fit 16" rectangular pizzas with a little ovehang). Do not use this type of pan to bake pizzas on, simply because they are usually silver and won't crisp a crust bottom that well. 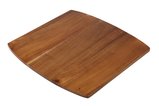 You might also consider a large wooden pizza serving board for serving--and cutting--your pizzas on. Finally, don't forget to buy a decent, large diameter pizza wheel (cutter). 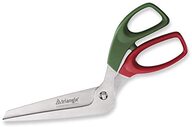 Another good addition to your pizza toolkit is a pair of pizza shears. Common kitchen shears are too short, plus its best to have offset blades for slipping under loaded pizzas. When making pan pizzas, a pizza wheel can cut across the pie, but a scissor can be used to go back and cut the edges the wheel missed.
--Jerry Finzi You might also be interested in:
My Recipe for Pizza Rustica, or Double Crust Pizza Our Secrets for Making a Great Pizza Sauce A Brief History of Wood Fired Ovens |
Archives
May 2024
Categories
All
|

