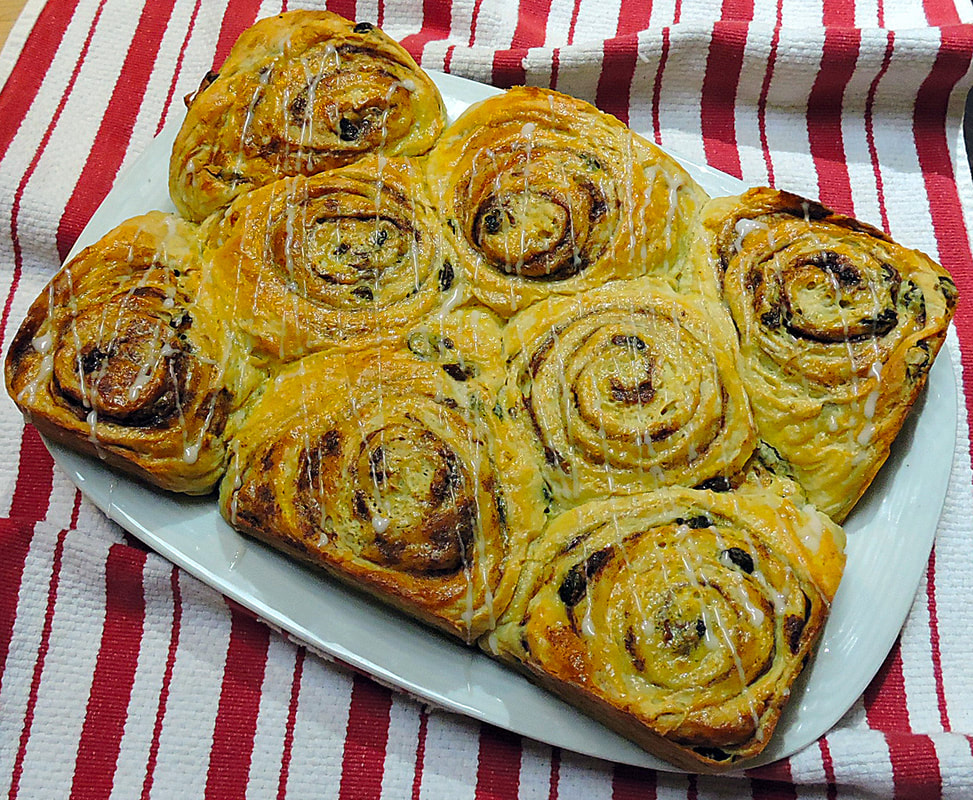
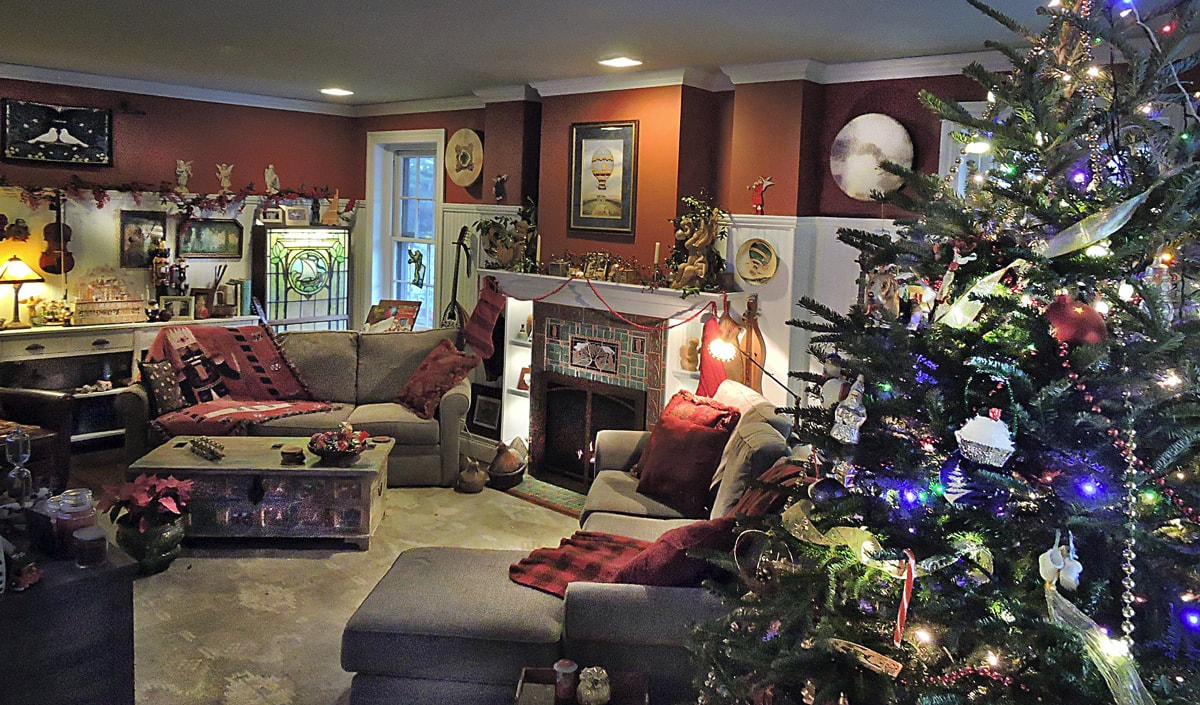
  Natale a casa Finzi Natale a casa Finzi Since my son Lucas was small, we have obviously dedicated early Christmas morning to opening gifts. This early morning sharing of love for each other has often stretched past noon, depending on the number of gifts to open. Admittedly, "We Three" (as we call our little famiglia) spoil each other, with multiple gifts and overstuffed stockings hanging on the mantle--some gifts even celebrate Italian cuisine. (This year, my favorite was a 5 pound caciocavallo cheese from Puglia!). This can be a long ordeal (when Lucas was little, it might take all day), so one tradition we've tried to keep is making my recipe for cinnamon-raisin and walnut buns the day before so we can easily heat them up and ice them for our Christmas breakfast. There's nothing better than one of these buns with a hot chocolate on Christmas morning. It's also a quick, simple breakfast to make that won't delay the opening of gifts. Here is the recipe, which can make enough to enjoy throughout the entire Natale season...  Babbo Finzi's Raisin-Cinnamon-Walnut Buns This recipe makes about 18 buns, about 5" across Ingredients Dough 4 Large Eggs 1 cup warm water (105-110 F) 1/2 cup orange juice 1/4 cup mild honey (Acacia honey is best) 2 tablespoons active dry yeast 7-1/2 - 8 cups all purpose flour 2 teaspoons fine sea salt (I use Baleine brand) 2-3 tablespoons ground cinnamon (to taste) 1-1/2 cups (3 sticks) unsalted butter, at room temperature (cut into pieces) For the Filling 1-1/2 cups light brown sugar 2 cups chopped walnuts (ground in a spice grider) 1/2 teaspoon salt 1/3 cup ground cinnamon 1/2 cup (1 stick) melted, unsalted butter 1-1/4 cups raisins (soaked in an orange liquor for 15 minutes, then drained) For the Frosting 4 cups sifted confectioner's sugar 1 teaspoon vanilla 1 teaspoon Fiori di Sicilia flavoring pinch of salt 2-3 tablespoons orange juice, or orange liquor. 1/4 cup milk (I use skim) grated zest of 1-3 oranges (depending on how many are being served) for sprinkling over the top... I forgot this Christmas) Directions for Dough 1. Place the eggs into a medium bowl and whisk until foamy. 2. Add the warm water and honey to the eggs and mix well to dissolve. Sprinkle the yeast into the egg mixture, stirring well, then let sit to "proof" until foamy (about 10-15 minutes). 3. After the yeast has proofed, add the 1/2 cup of orange juice and stir well. 4. Sift together the 7-1/2 cups of flour, 2-3 teaspoons cinnamon and 1/2 teaspoon salt into the bowl of a stand mixer. 5. Start mixing on a low speed while adding the pieces of room temperature butter until it gets to a rough crumb stage. 6. Make a well in the center and pour in the proofed egg/yeast mixture. Mix on low speed until the dough clears the sides of the bowl. 7. Place the dough onto a lightly floured work surface and knead until it becomes smooth and springs back a bit when a finger is pushed into it. This dough should become smooth and not sticky. 8. Cover with a cotton towel or plastic wrap for 10-15 minutes to relax. Make the Filling 9. In a medium bowl, combine the brown sugar, chopped walnuts, salt and cinnamon. I grind the walnuts into a crumb using a spice grinder, but if you them chunkier, leave them chopped (from a package) or use a chef's knife to chop to a size you like. Filling and Rolling the Dough 10. Prepare two half sheet pans by lining them with parchment paper. 11. Roughly shape the dough ball into a rectangular block to make rolling out into a rectangle easier. On a lightly floured surface, roll out the dough into a rectangle that is no more than 12" and no less than 1/4" thick. The rectangle should be about half as wide as it is long. Try to create 90 degree, angled corners. 12. Using a pastry brush, coat the entire surface of the dough with the melted butter, coming to within 1/4" of all sides. 13. Spread the walnut filling evenly across the dough. 14. Drain the raisins well and spread evenly across the dough. 15. Roll up the dough, starting from the side furthest from you, jellyroll fashion. As you roll toward you, lift occasionally to tighten the roll as you go. When you get to the end, pull and then pinch the last side along its length, pinching the dough so it sticks to itself. 16. Roll the pinched edge so it's underneath your roll. (This helps to hold it in place while cutting.) Using your flat hand or a bench scraper, make sure the ends are pressed in flat. 17. Using a large, serrated bread knife, start cutting 1/2 - 3/4" thick slices, placing each one on your parchment lined sheet pans. You can either allow 1-2" of space between each so they sell into nice round buns (photo below), or more tightly next to each other to create more of a pull-apart bun experience. (See the photo above). 18. Cover the pans loosely with plastic wrap and allow to rise at room temperature, away from drafts, for about 1 hour, or until doubled in bulk. This dough really puffs up! 19. About 30 minutes before baking, preheat oven to 350 F. 20. Place trays on center rack(s) and bake for 15-20 minutes, or until lightly golden brown. You can bake each pan separately, or if your oven can accommodate two pans at once, bake them at the same time, perhaps swapping racks and rotating pans once halfway through baking to ensure even baking. 21. Try not to over-bake these buns--they can dry out easily if over-baked. You want them warm and soft when served. They freeze well (on a tray in the freezer, then placed into zip-lock bags when rock-hard). They will microwave perfectly (30 seconds or so) the next day (after refrigerated), or heated in an oven from frozen for 10-15 minutes at 350 F. They can be iced right before serving. Making the Icing 22. While the buns are baking you can make the icing. Place the sifted confectioner's sugar and salt into a large bowl, and using a small whisk, combine. Whisk in the vanilla, Fiori di Sicilia and the orange juice (or orange liquor). Now, slowly start adding the milk, little by little, until the icing becomes very smooth and can make a ribbon when drizzled from the end of the whisk. You might not need all the milk, or you might need a tablespoon or two more (it depends on the humidity). This recipe can also be made swapping out the milk for water if you are lactose intolerant. You want the icing to be able to drizzle ribbons onto your buns, yet be sticky enough to cling well. Serving/Reheating 23. When finished baking, remove the pans from the oven and let cool for 5-10 minutes right in the pan. If you ice them while hot, the icing might soften and become too thin. 24. Select the buns you want to eat right away and either use your whisk or a small spoon to drizzle lines of icing across the tops. If you like lots of icing, use a small offset spatula and spread a coating of icing across the entire surface. 25. Distribute some orange zest on top. 26. For eating the next day, you can place some buns on a tray (without icing) and cover with plastic wrap. The next day you can reheat the icing for 15 seconds in your microwave, then reheat the buns in the microwave for 30 seconds (using a microwave cover) or in a 325 F oven, lightly covered with foil, for 15 minutes. 27. These buns freeze very well, without icing, by first freezing solid, uncovered, in your freezer until rock hard. Store the frozen buns individually in zip-loc bags. To defrost and reheat, place on a pan covered lightly with foil in a 350 F oven for 15 minutes, then ice afterwards. You can also defrost them using your microwave using the defrost setting, but don't forget to use a cover to prevent drying out. Our buns lasted our family of three from Christmas morning until the Epiphany on January 6th! I hope you enjoy them as much as we do... --Jerry Finzi  Copyright 2023 by J.Finzi/GrandVoyageItaly.com
|

Archives
May 2024
Categories
All
|